My Home Renovation Journey in Singapore
During my home renovation, I took photos on a weekly basis to monitor the progress. In this blog article, I will be sharing those photos so you can see my entire renovation journey. Hopefully my experience will serve as a useful reference for your own renovation. Good luck! This article was last updated on 12 July 2020.
Week 0 to Week 1
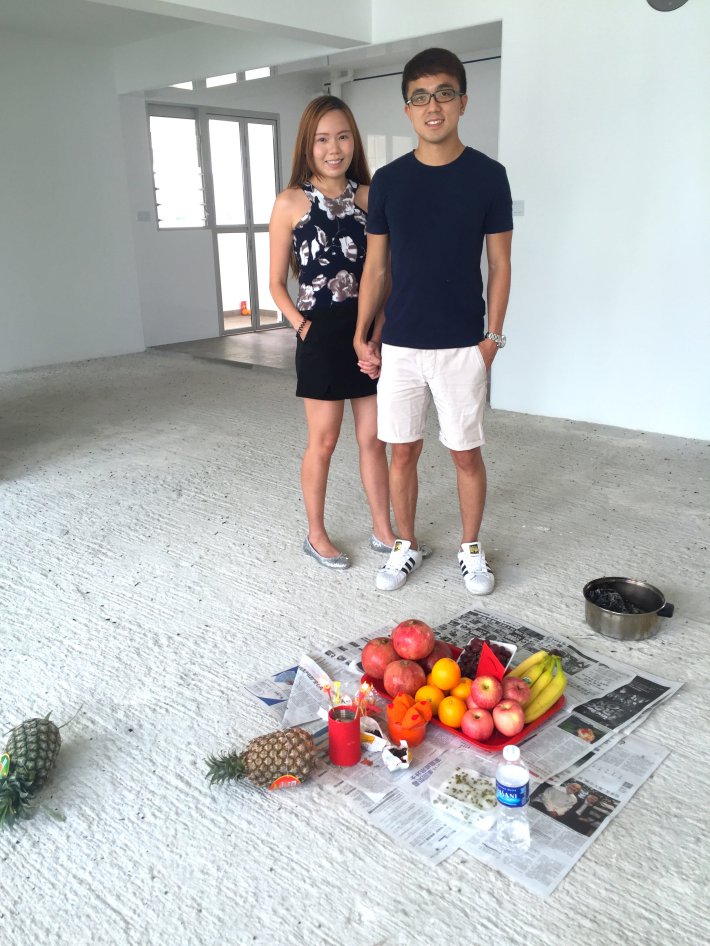
Before our renovation even began, there were plenty of things to be done! First, we conducted our door opening ceremony.
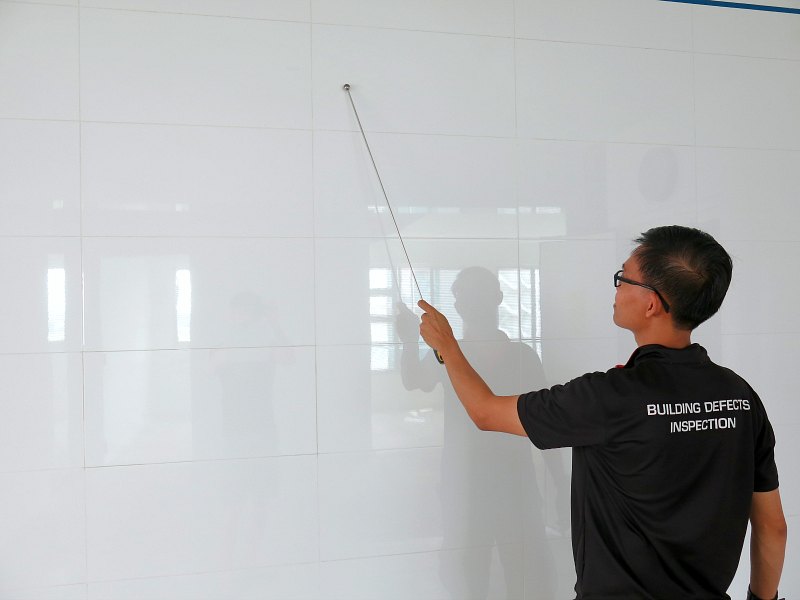
Next, we engaged Absolute Inspection to check for defects in our house.
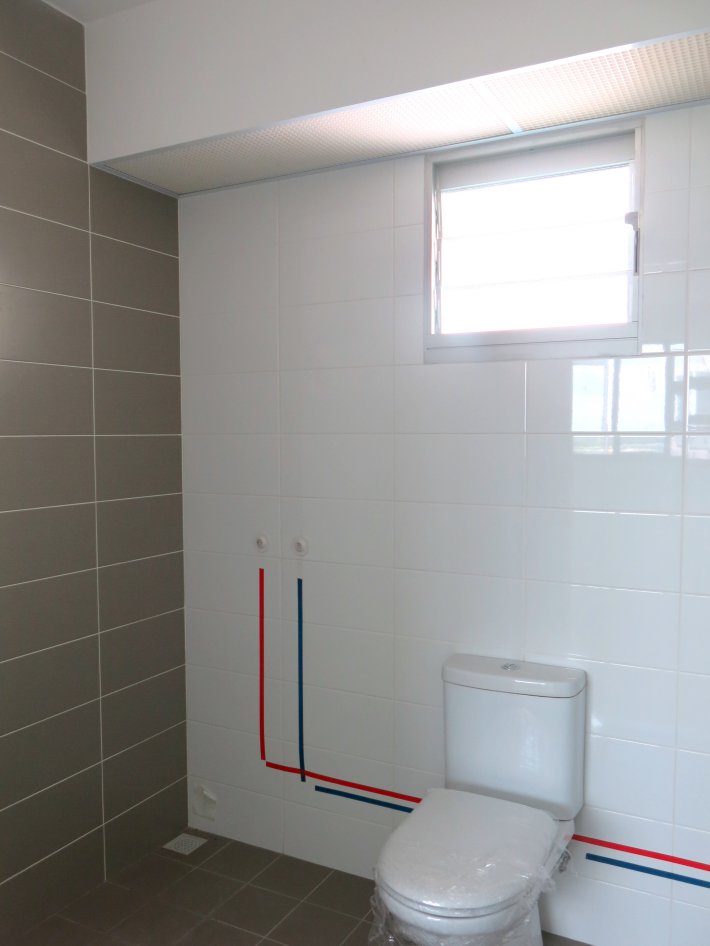
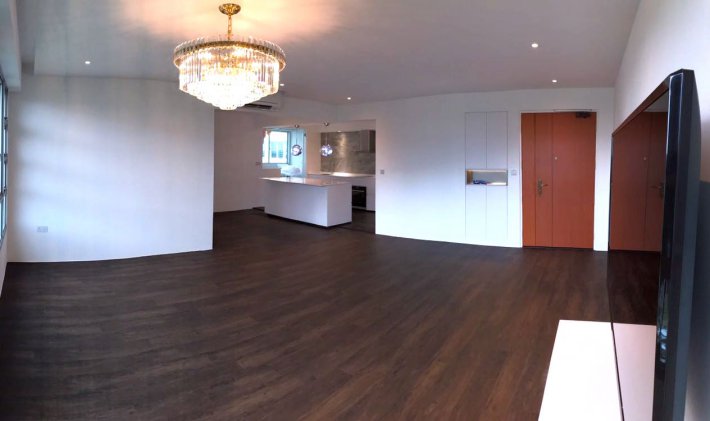
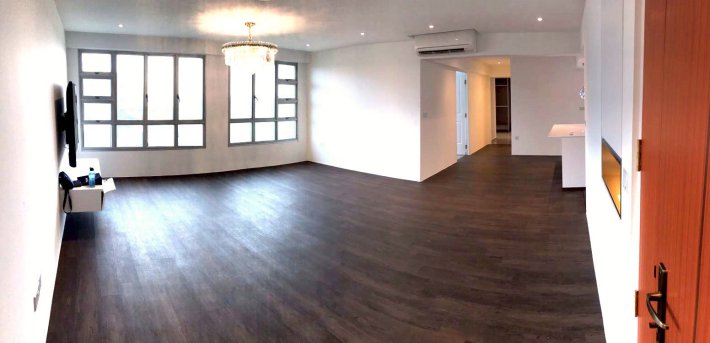
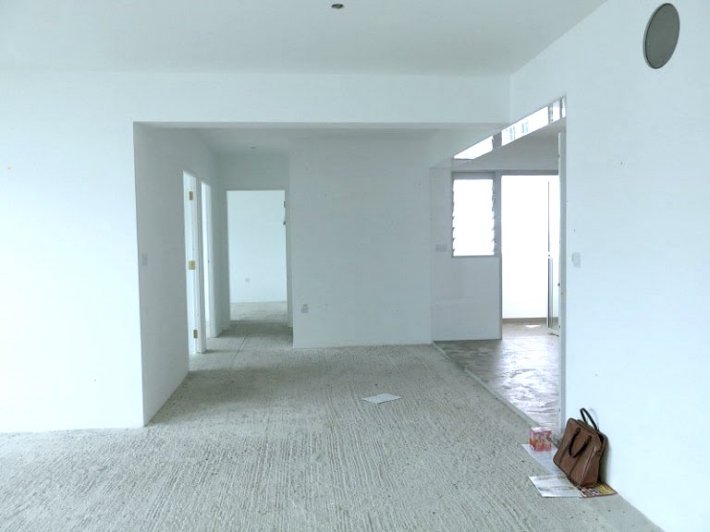 our house’s original state
After that, we shortlisted ten renovation IDs and met up with every single one of them for site visits, discussions, and quotations.
After finally choosing our ID, we signed the quotation with them on 06 July 2017. From there, we worked with the ID on our home design and space planning, through the use of our own moodboards and 3D drawings by the ID.
We also visited many tile suppliers to shop for tiles. Finally, we got all our tiles from Hafary Gallery in Eunos.
 starting renovation works on the auspicious “renovation start date” given by Master David Tong
We consulted Master David Tong for auspicious dates to start renovation and move into our new house.
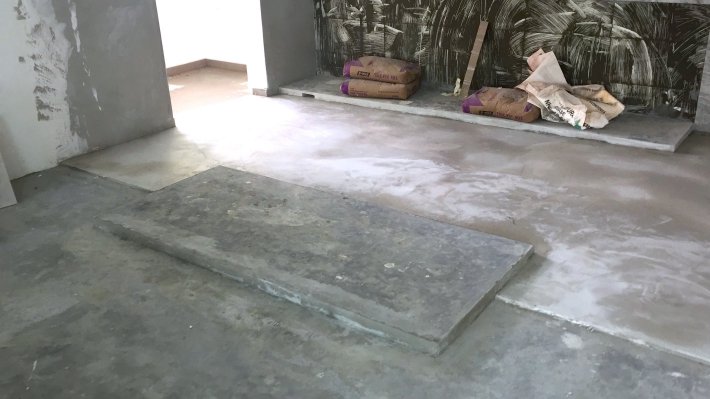
Last but not least, we applied for HDB screeding since we wanted to have vinyl flooring. And with that, it was finally time for our renovation to kick off!
Week 1 (25 Sep 17 to 01 Oct 17)
 our kitchen on the first day of renovation!
On 29 Sep 17, our ID sent us pictures of the contractors starting renovation works in our house. They had begun tiling works for our kitchen, rooms and toilets.

Tiling works for our common toilet.
Tiling works for our study room.
Tiling works for our MBR – we love the tiles!
I can still remember my Whatsapp conversation with the wife that day:
Me: Hey the reno has started. You saw the pictures?
Wife: yes
Me: cool
Wife: you feeling excited too right?
Me: yes lol
By now, I have forgotten many details of our renovation. But I will never forget how both of us felt that day: that sense of anticipation and excitement of building our own home. Perhaps it was also because the renovation symbolised the start of our lives together.
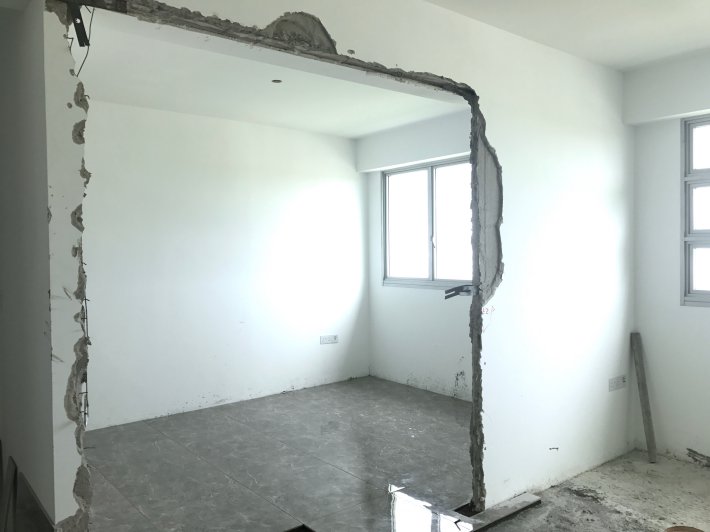
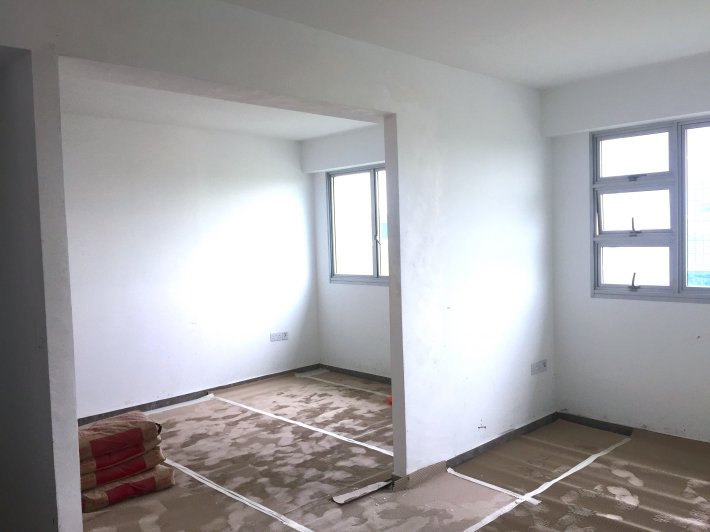
By the end of the week, the contractors had also knocked down the walls between our two rooms to create a bigger Master Bedroom (MBR), so that the wife could have a walk-in wardrobe.
Week 2 (02 Oct 17 to 08 Oct 17)
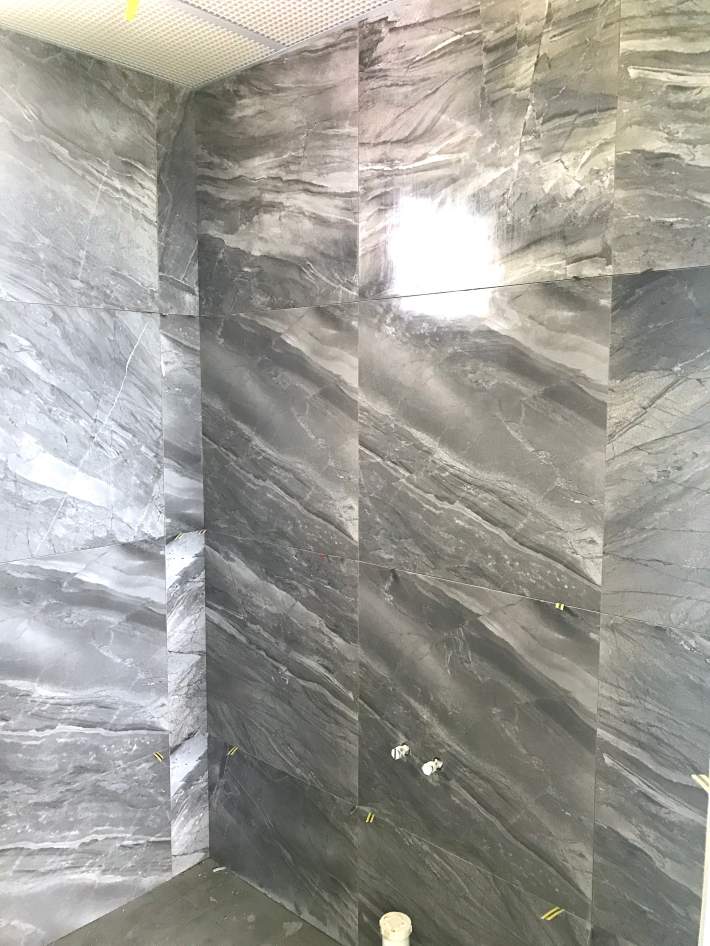
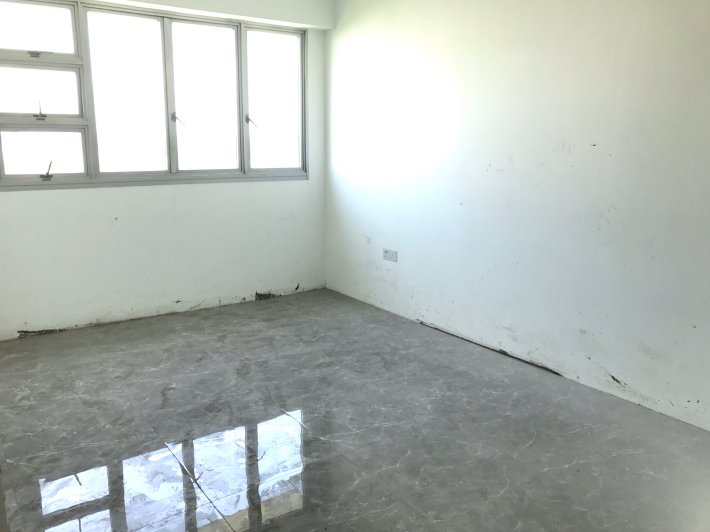 our Master Bedroom floor tiles
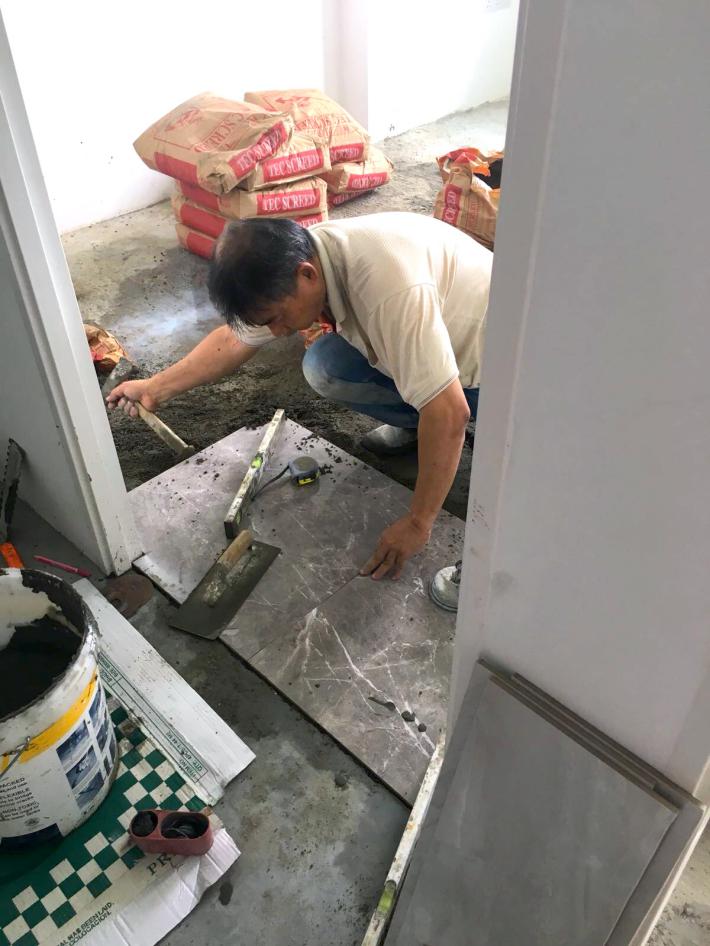
During the second week, the contractors completed the tiling works for our toilet and room floors.
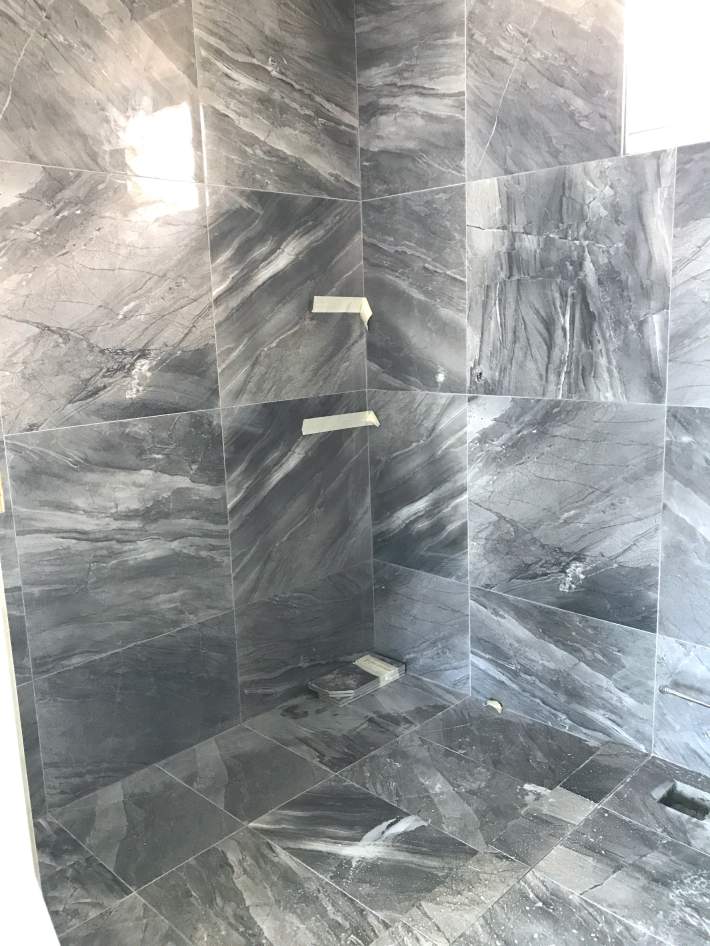
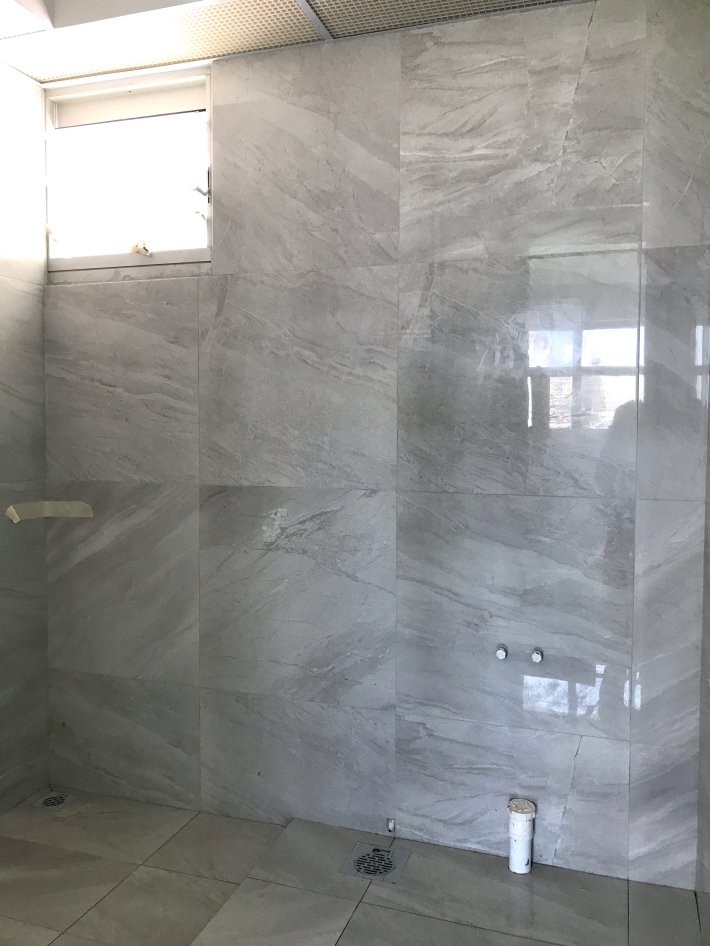
We decided to use tiles as ledge in our bathrooms and marked the ledge positions with tape (see pictures above).
Week 3 (09 Oct 17 to 15 Oct 17)

This week, the contractors started laying tiles on our kitchen wall. The tiles we originally wanted were out of stock, so we had to visit Hafary again at the last minute to choose another tile. This turned out to be a blessing in disguise because we loved the look of the new tiles.
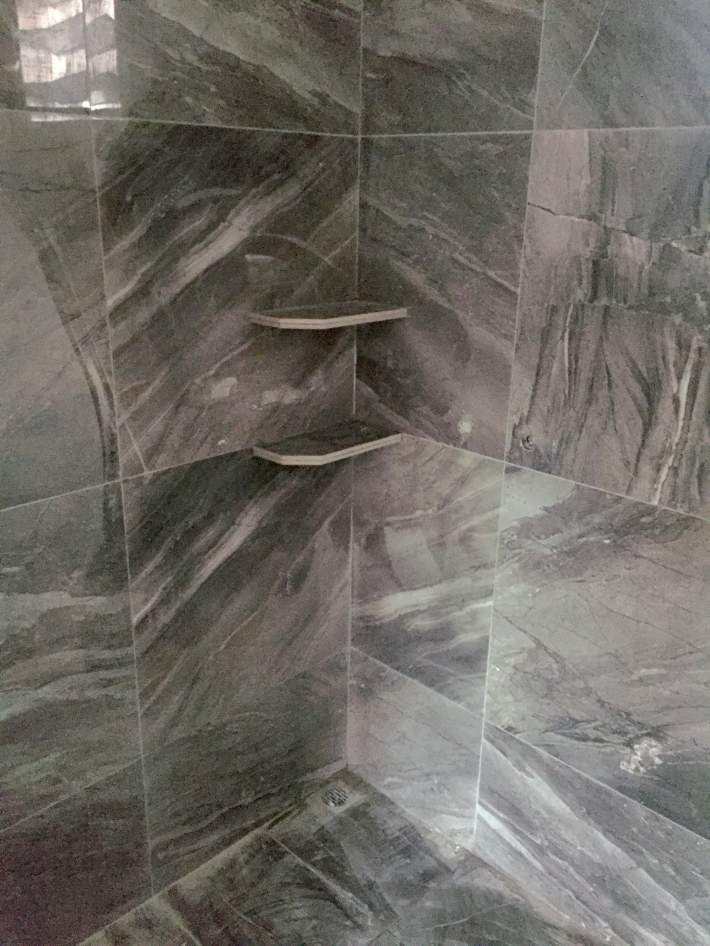
We installed tiles as ledges in our bathrooms, which was great because we did not need to buy an additional shower rack to hang. More importantly, we really loved the seamless look of the small ledges.
The contractors finished building the cement base for our kitchen island.
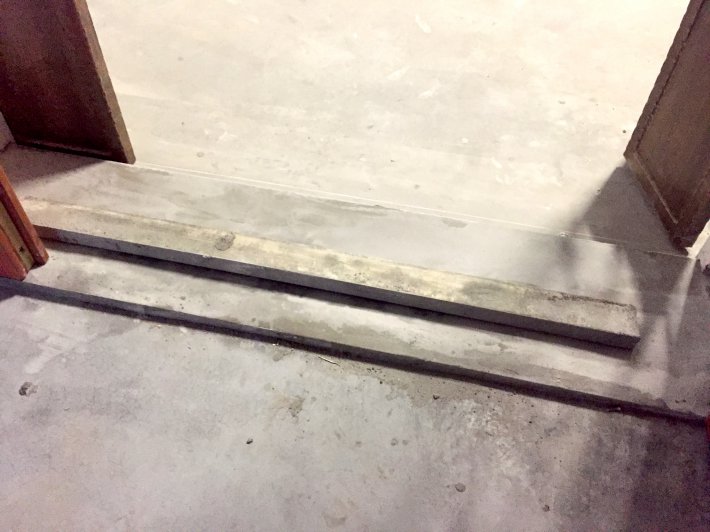
They also levelled the slope at our main door with cement. This was because we preferred a kerb over a slope.
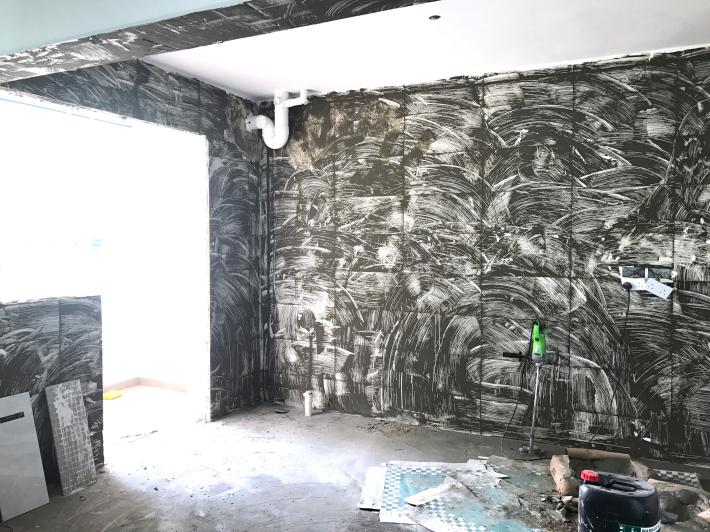
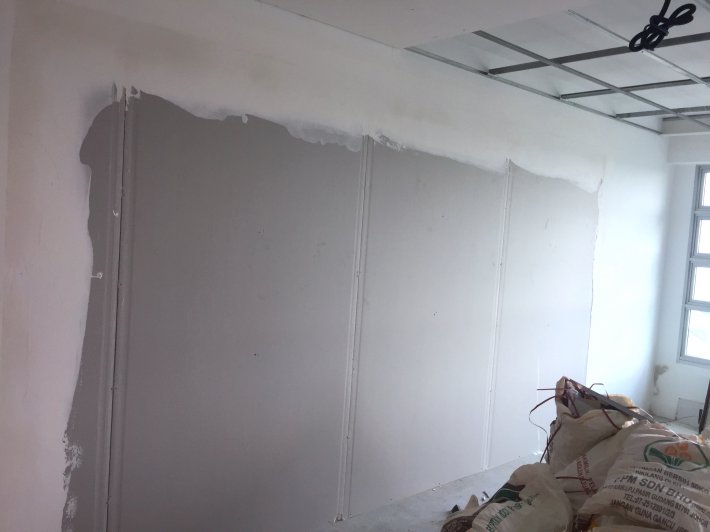
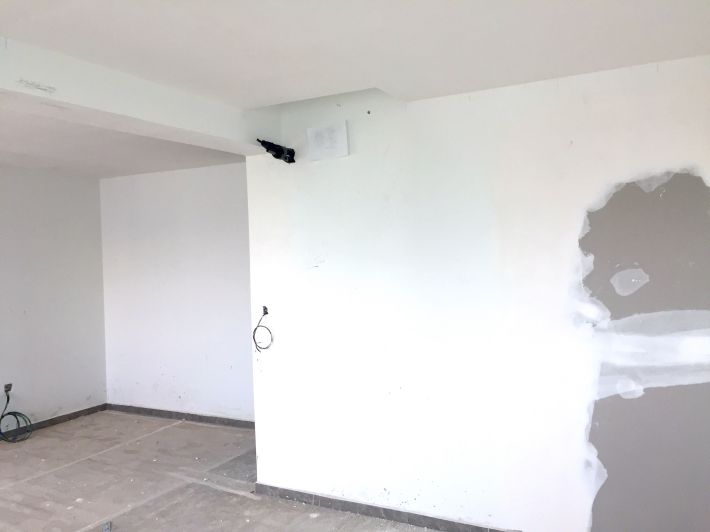
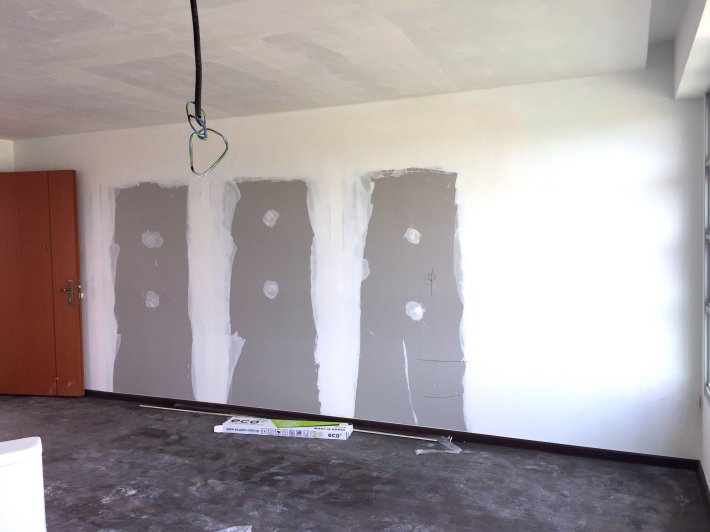
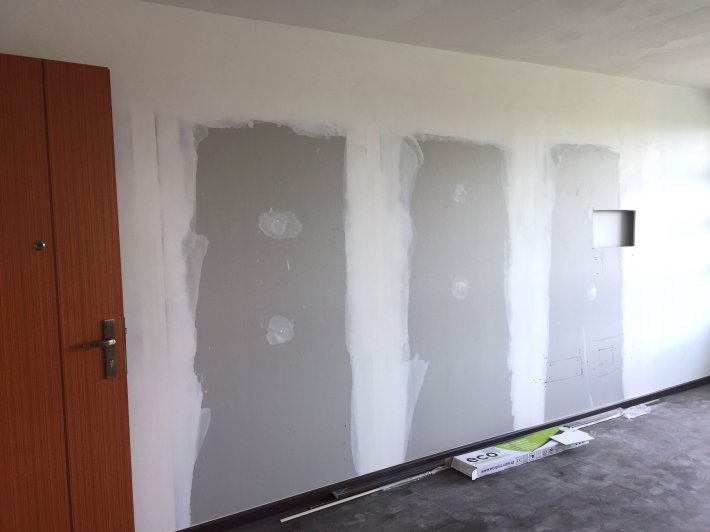
One of our kitchen walls were covered with original HDB tiles. However, we did not like the design so we requested our ID to plaster over the tiles and then paint over it.

We installed the Uni-Arm door closing mechanism for our main door. This is a very useful and affordable door stopper device. It is definitely much better than the default HDB one.
The MBR wall was smoothed out.
We began discussion of the electrical and lighting works with our ID.
Week 4 (16 Oct 17 to 22 Oct 17)
Harvest Aire installed the aircon pipings in our house. We highly recommend this aircon installation company for its low price, great service, and great product quality. Read our review to find out more!
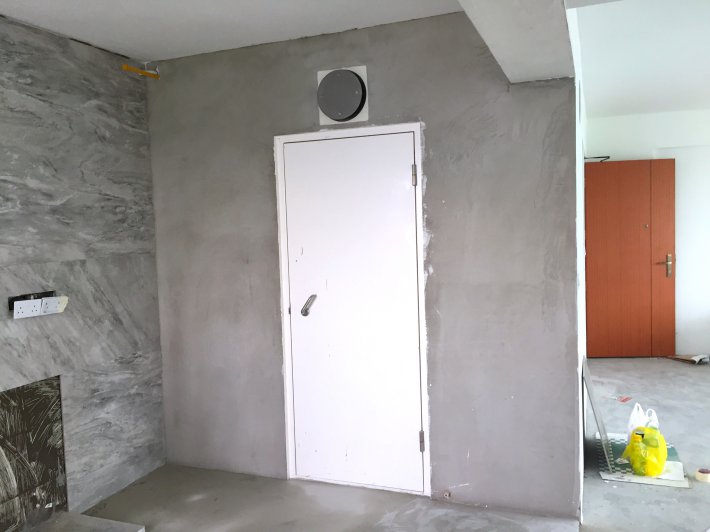
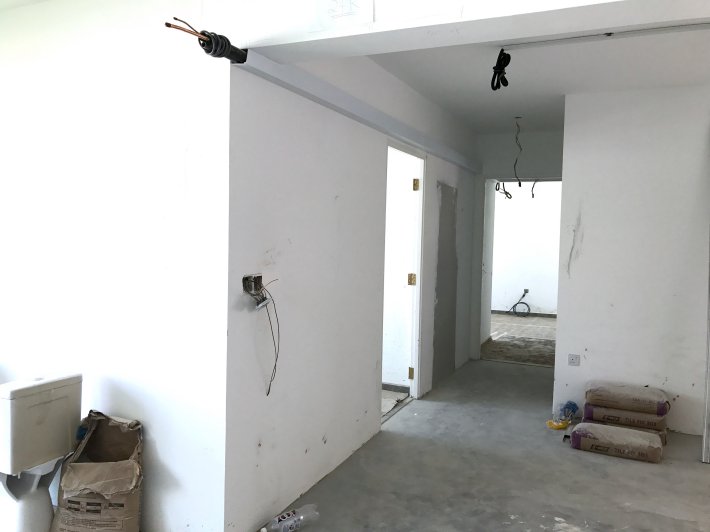
The contractors patched up the hole where our guest room door was originally. We got rid of this door because our guest room is combined with the MBR.
We began discussion of the carpentry elevations with our ID. This took quite a while because we had to dive into many details of the carpentry works. We also went through dozens of laminate samples. In the end we got our laminates from EDL and Lamitak.
Week 5 (23 Oct 17 to 29 Oct 17)
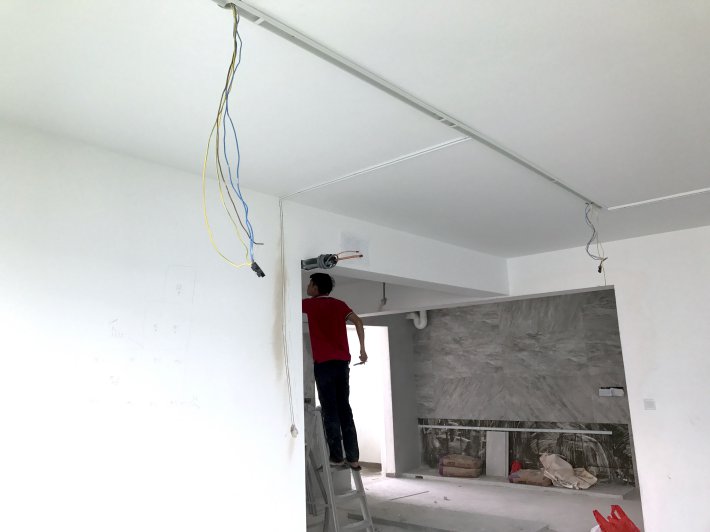
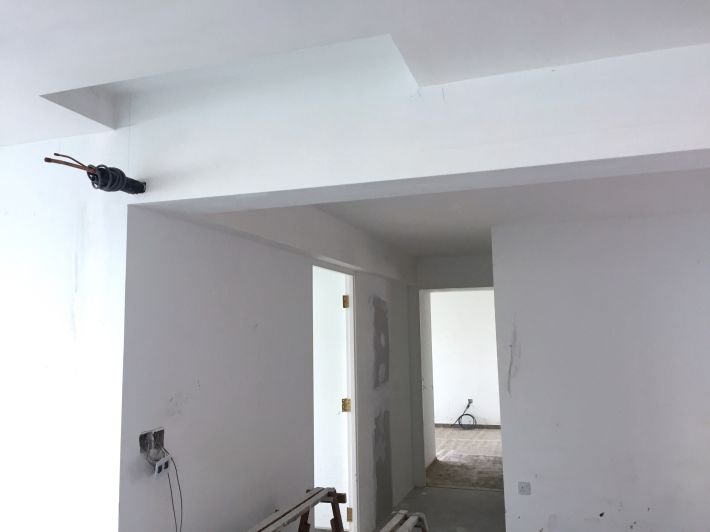
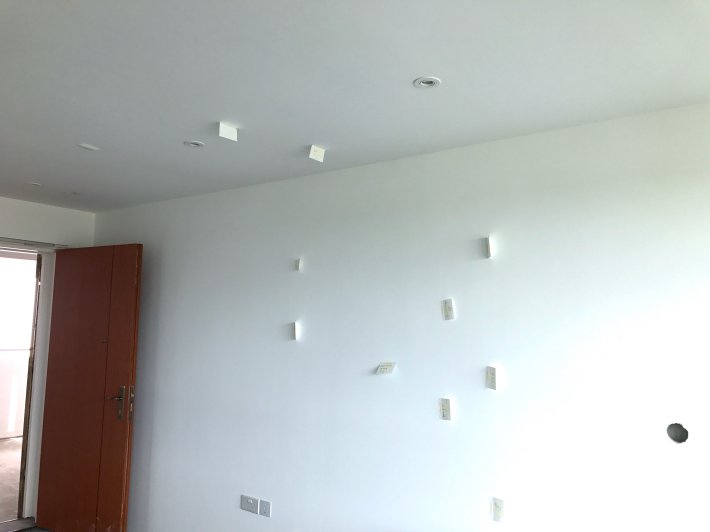
The electrician laid out the electrical wiring for our ceiling lights.
Subsequently, the workers started building a false ceiling to conceal the wiring.

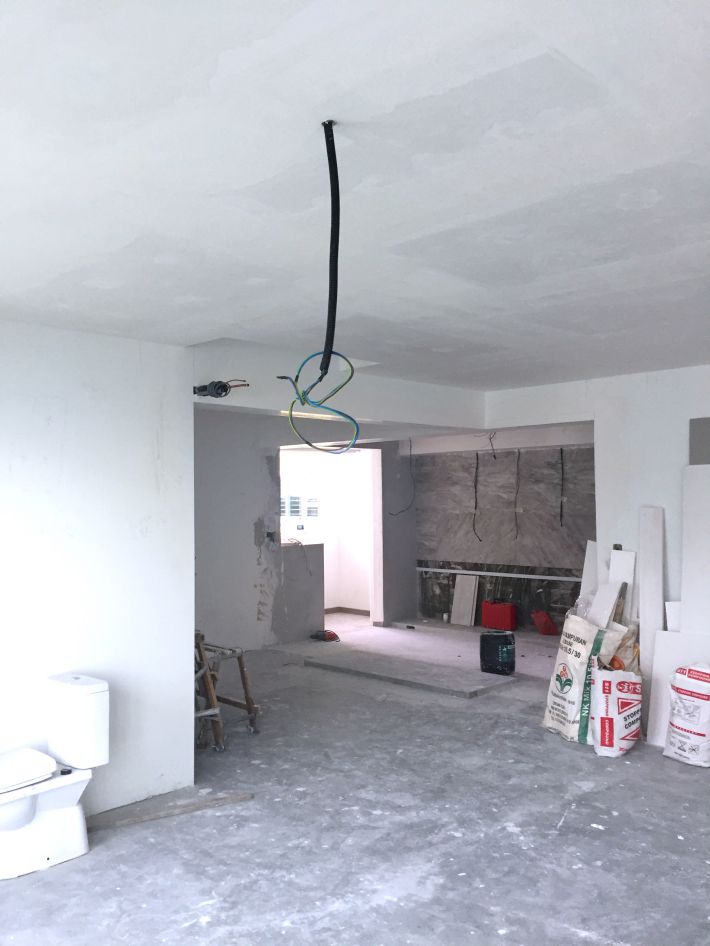
They also built an elegant box-up to conceal our aircon piping.
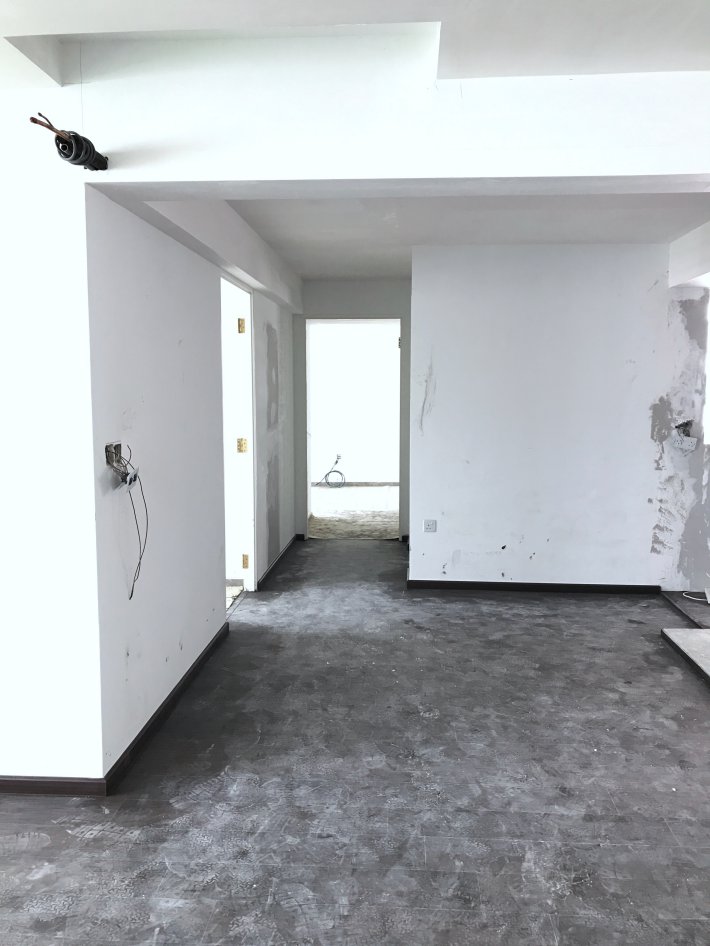
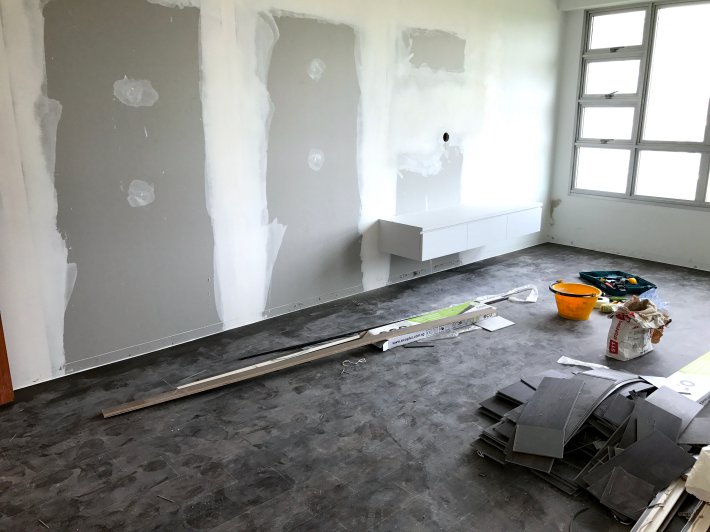
The workers built a false wall in our living room. Even though most Singaporean homes have a “TV feature wall”, we chose to build a false wall instead because we preferred its minimalist look.
Week 6 (30 Oct 17 to 05 Nov 17)
 Living Room false ceiling
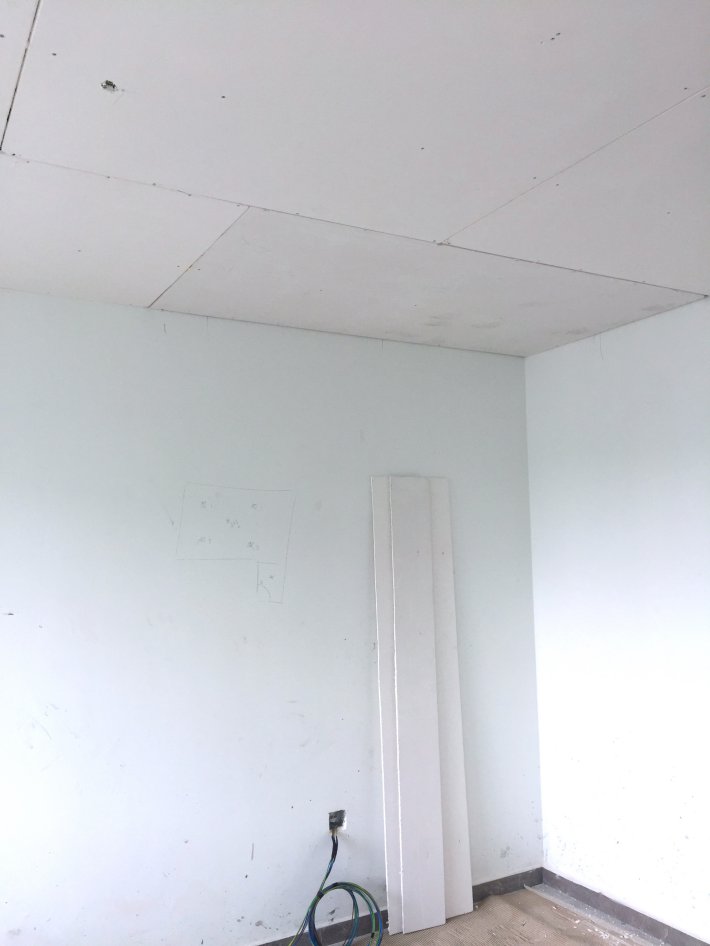
 MBR false ceiling
The false ceiling were completed this week for our MBR and living room. We liked how it hid all the lights’ wiring completely.
The box-up for the aircon piping was completed.

The workers also built a box-up to conceal the ugly fat pipes on our kitchen ceiling.
Our much discussion and planning, our carpentry elevations were finalised!
Week 7 (06 to 12 Nov 17)
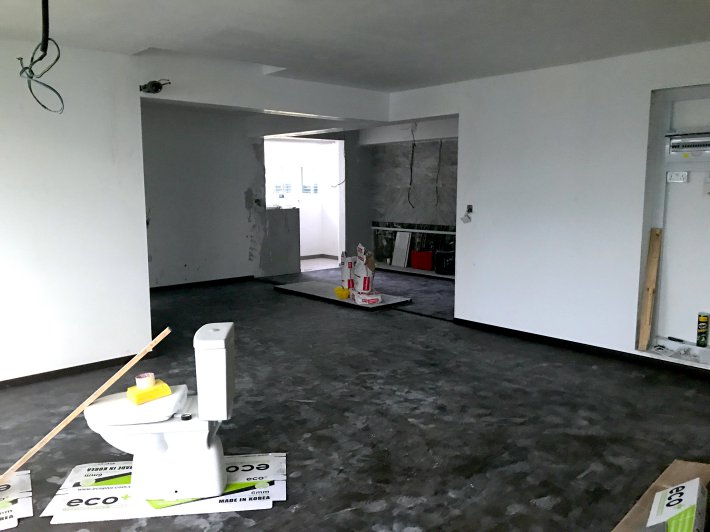
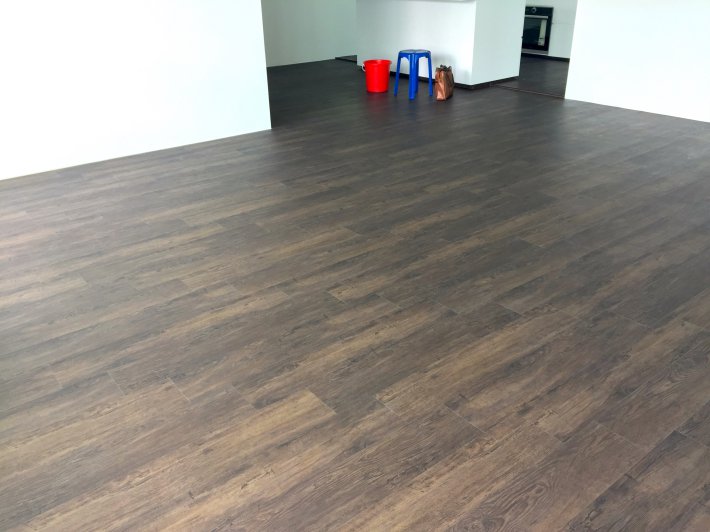
Ecopluz completed installing the vinyl flooring for our living room. However, we were annoyed that skirting had been installed even though we had specifically requested our ID not to do skirting. After we informed him about this mistake, he was apologetic and promised that he would remove the skirting soon.
We also requested him to cover the floor with protection because the vinyl planks were extremely dirty after just a few days due to the renovation works. We reminded him that floor protection costs had been listed in our quotation too. He agreed.
Week 8 (13 Nov 17 to 19 Nov 17)
Nothing was done this week. Floor protection was still not laid.
Week 9 (20 Nov 17 to 26 Nov 17)
The workers created a hole in the false wall to fit our TV mount.
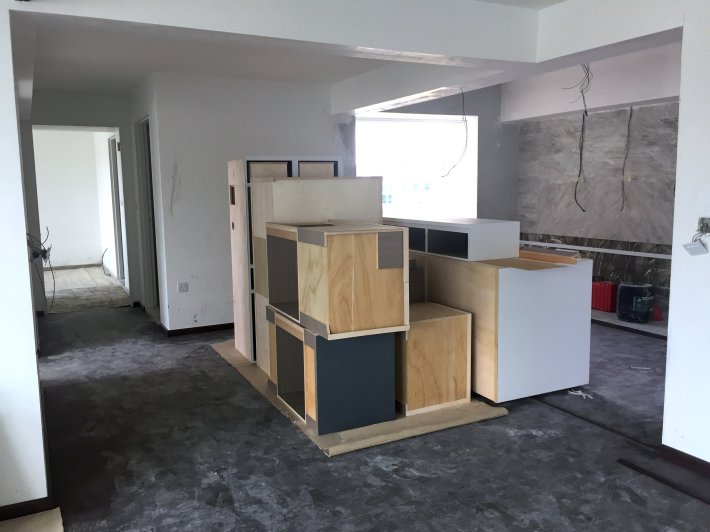
The partially completed carpentry were moved to our house. It was exciting to finally see them in physical form after so much discussion using 2D drawings! Above are our kitchen and toilet cabinet carpentry.
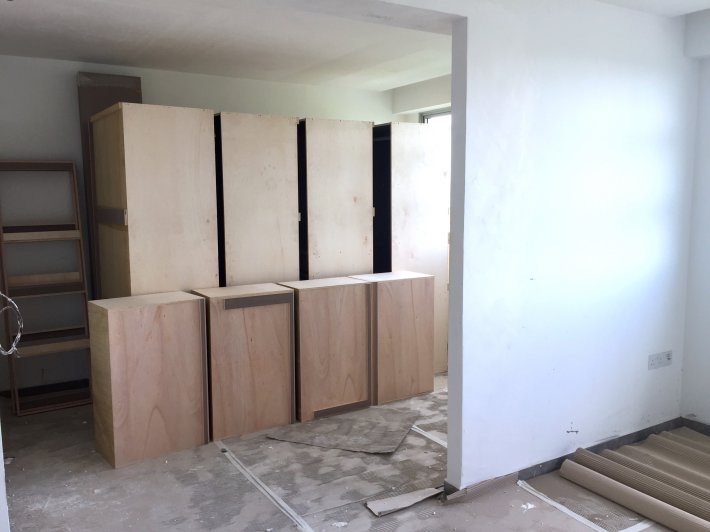
Our wardrobe carpentry were packed in the MBR.
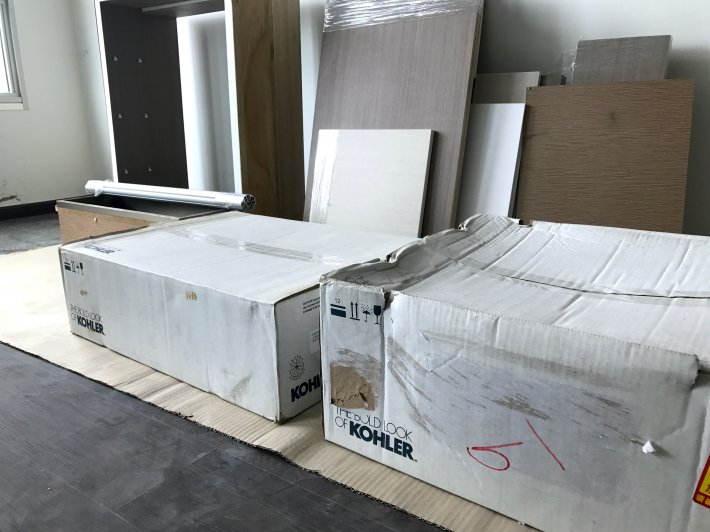
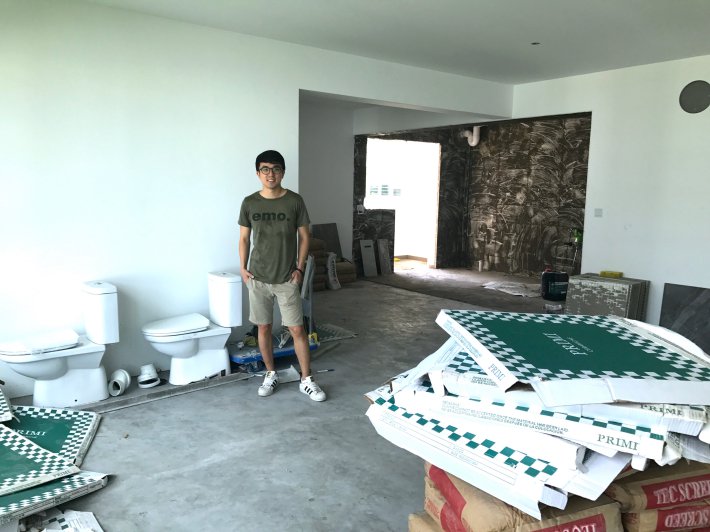
Our bathroom fittings were delivered too! Above are our Kohler basins.
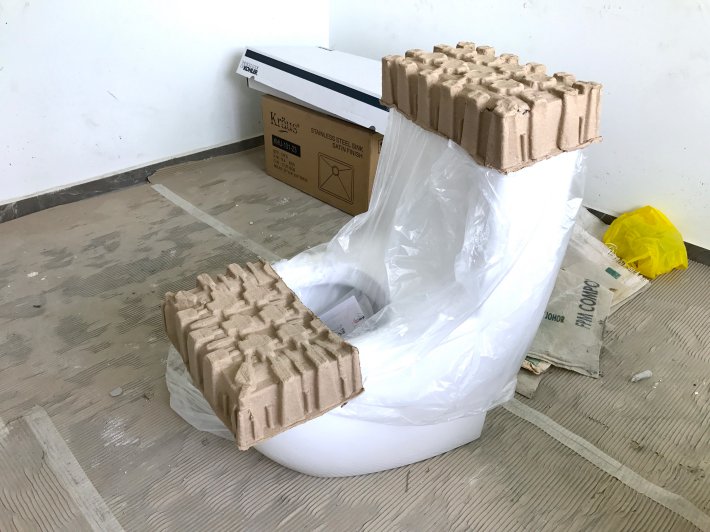
Our “Baron WC 888” toilet bowl arrived, can’t wait to give it “my presents” for the first time.
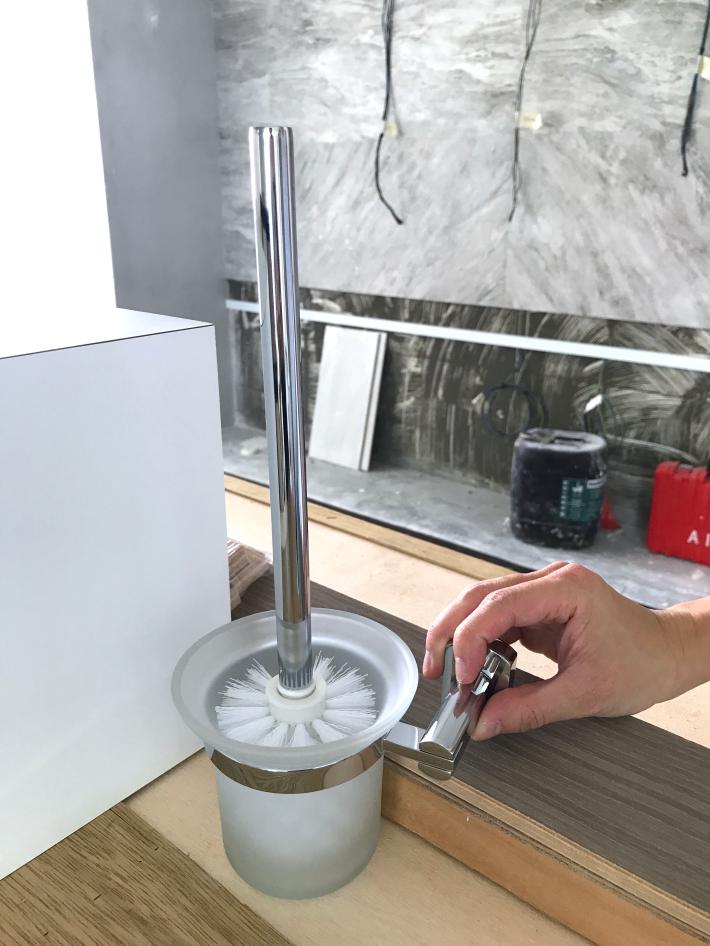
This is our elegant toilet bowl brush, bought from Taobao.
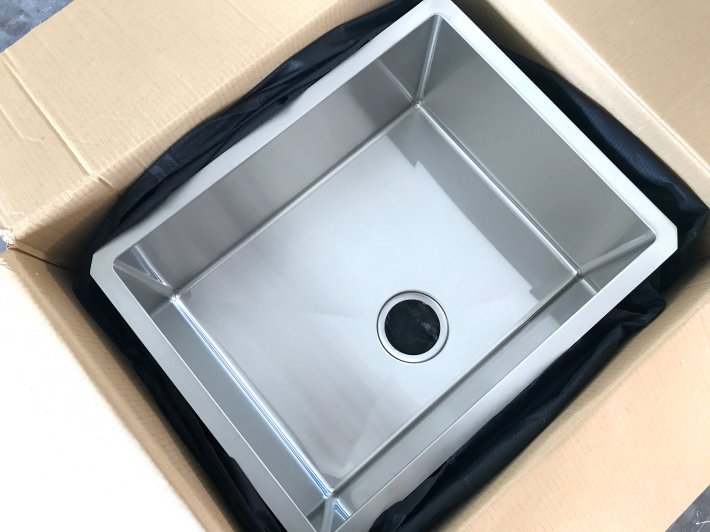
Our classy 23-inch Kraus sink from Amazon were delivered as well. We managed to waive the delivery fee because we were longtime Amazon customers. Several of our home appliances arrived as well, just in time for installation next week.
Week 10 (27 Nov 17 to 03 Dec 17)
The vinyl flooring skirting was removed. However, because they were originally glued to the wall, there were obvious marks after the removal. Even after being painted over, the marks were still slightly visible.
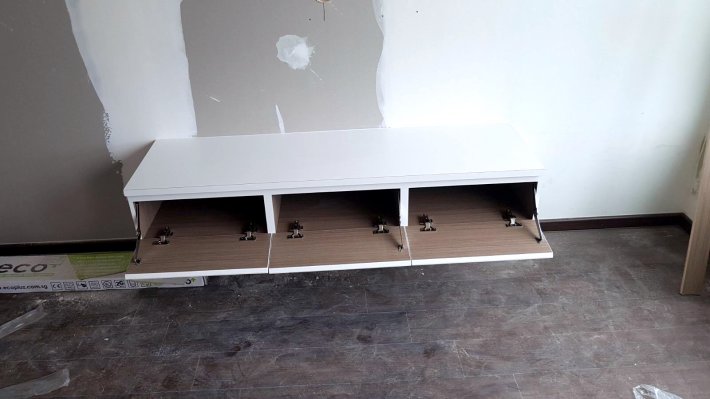
Our carpentry were installed this week! These included the toilet cabinets, kitchen island, MBR wardrobe, kitchen cabinets and TV console. Our home appliances such as the induction cooker, oven, and hood were installed as well.
We spent quite a bit of time inspecting the carpentry works and found some minor defects (drawers not being able to close completely, gaps which need to filled up with silicone, etc). We informed our ID and he helped to rectify the issues promptly.
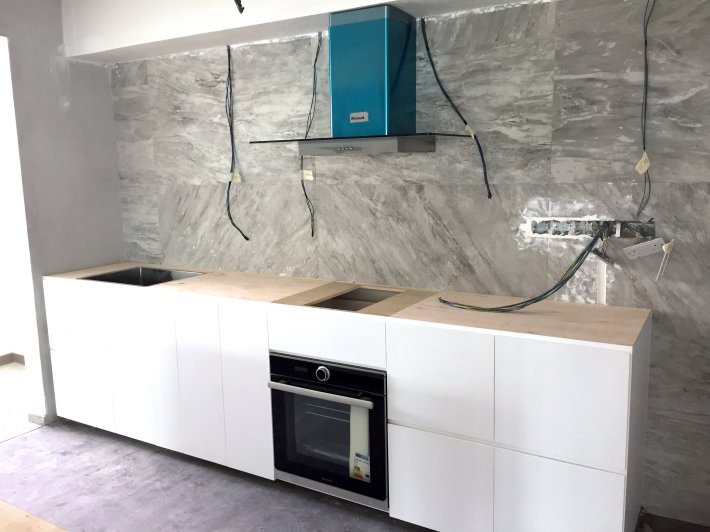
Our kitchen cabinet was installed along with our Brandt oven and hood.
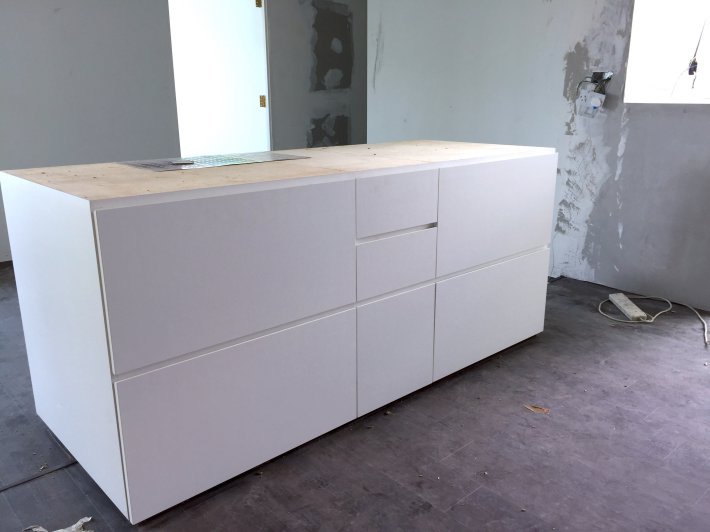
Our pretty kitchen island was installed.
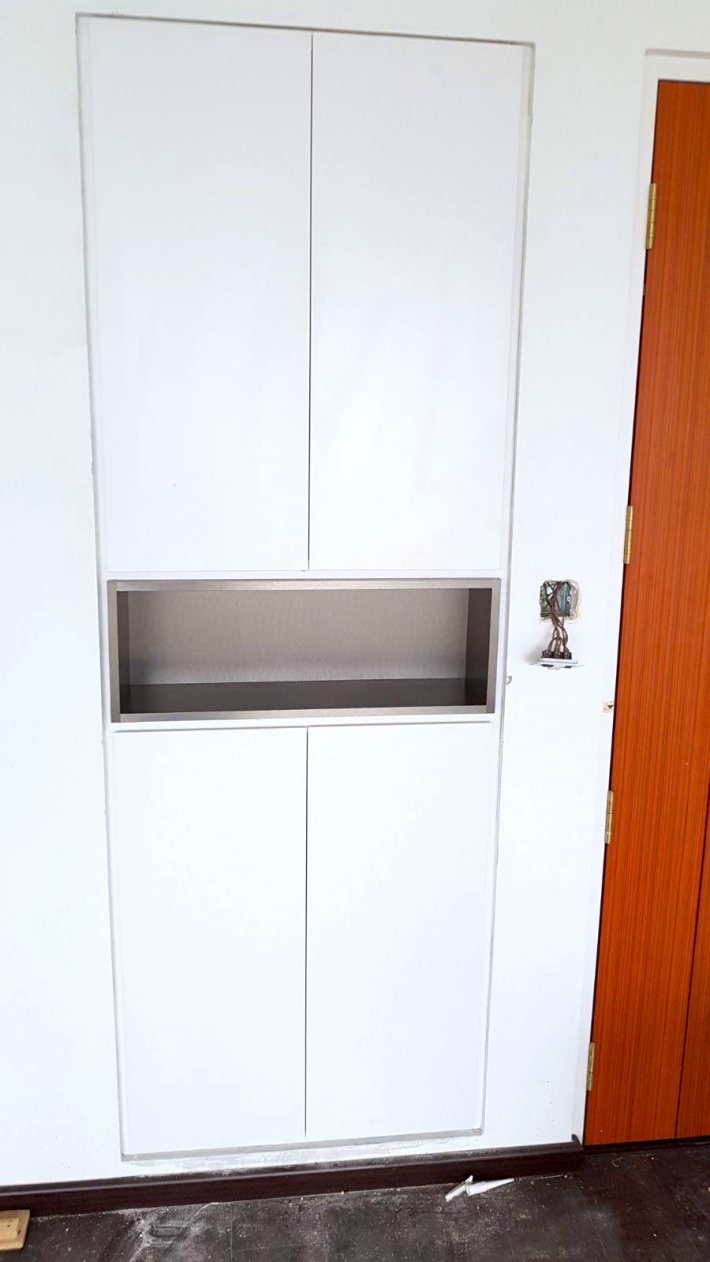
This is our DB box with silver laminate.
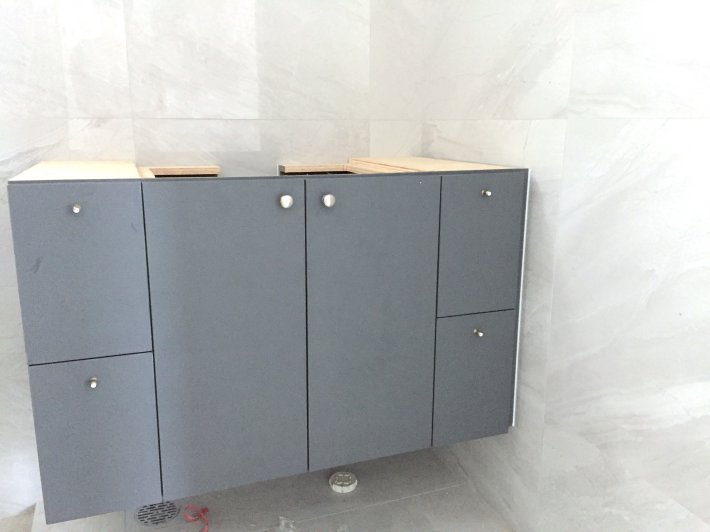
Our common toilet cabinet was installed.
Our MBR toilet cabinet was installed.
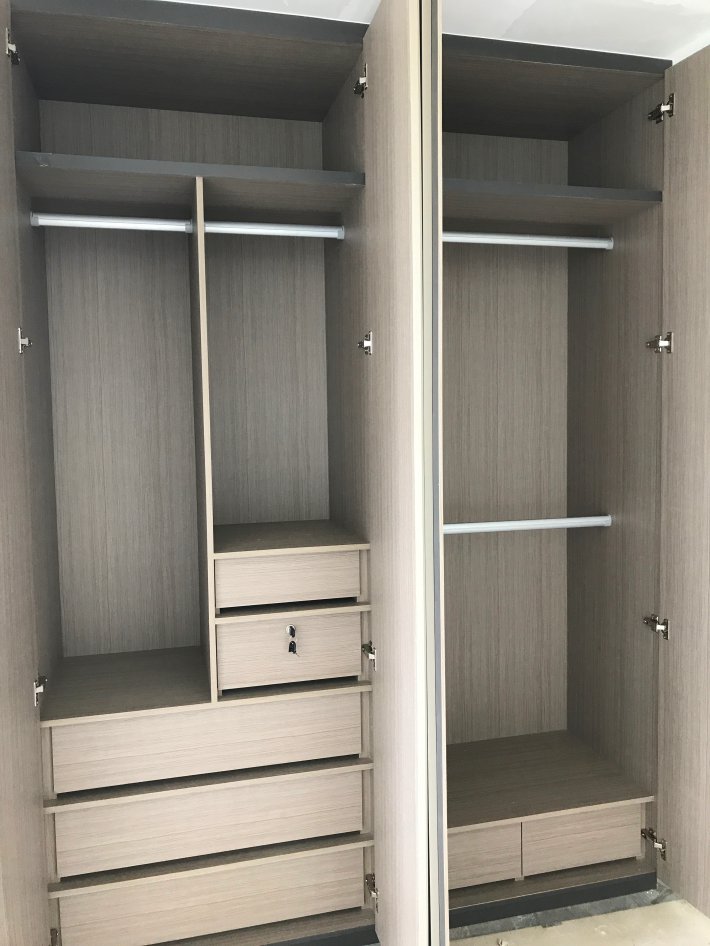
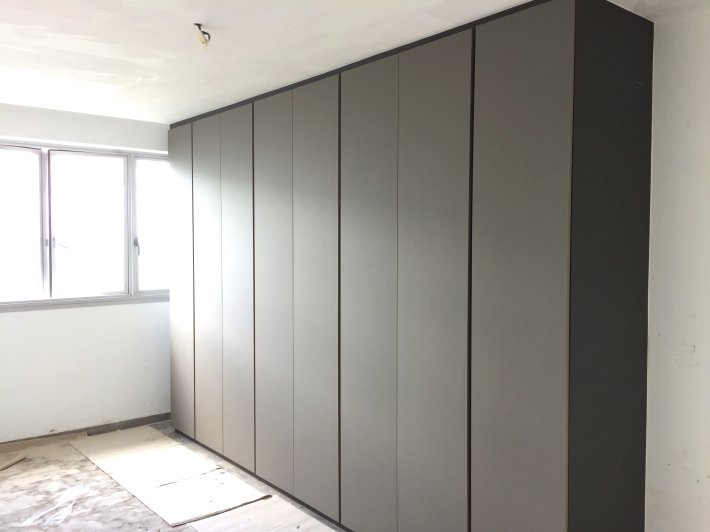
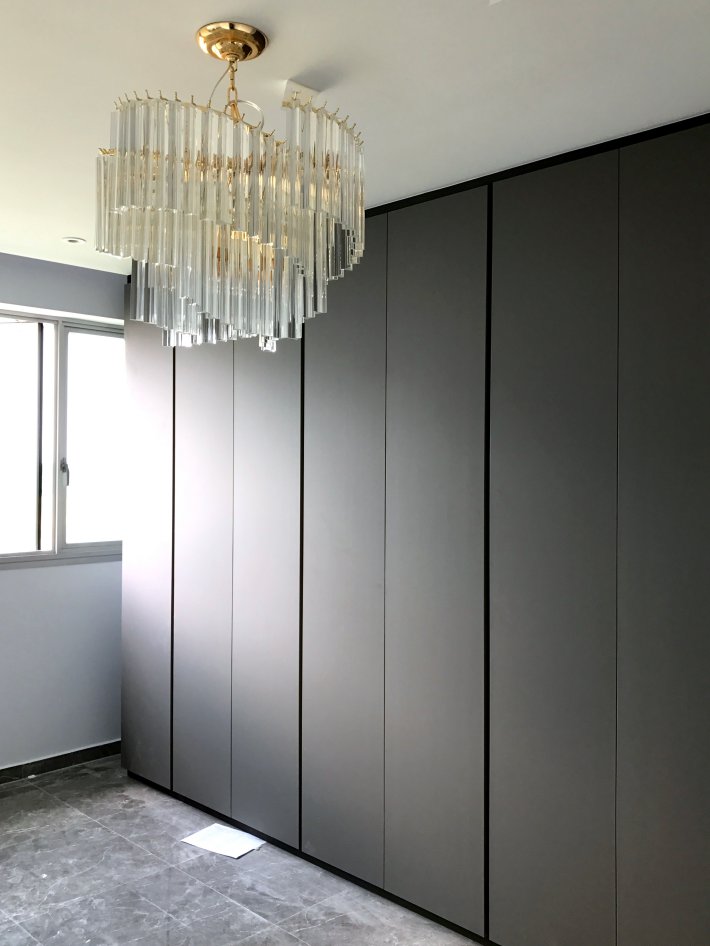
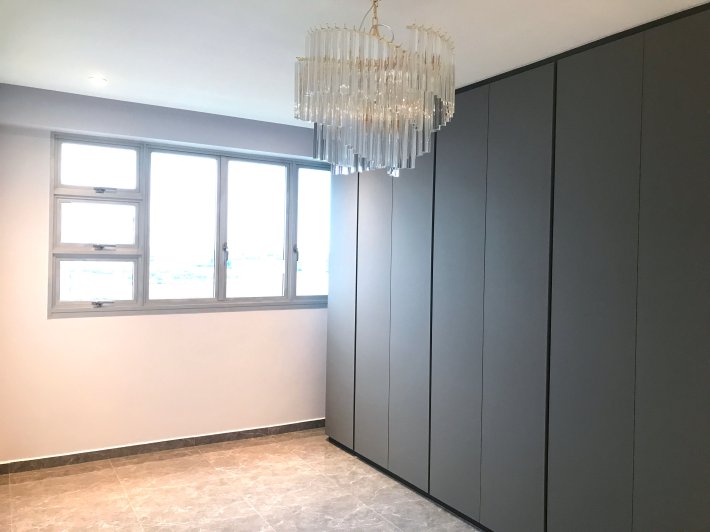
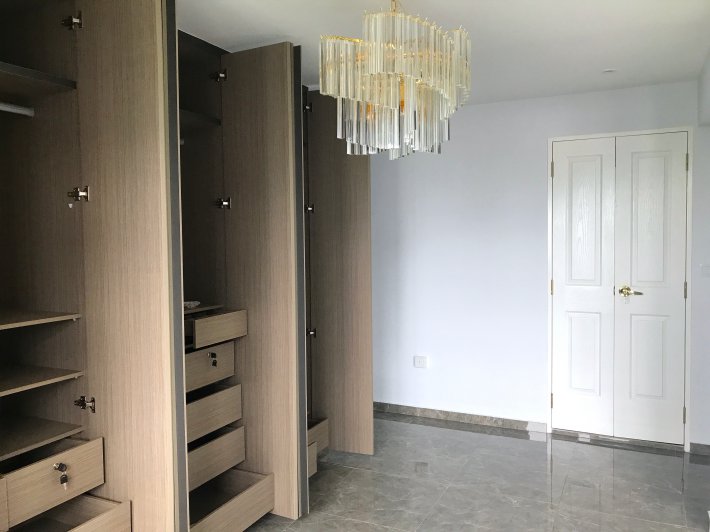
Our MBR wardrobe was installed.
By now, our vinyl floor had became almost completely white from the dirt and dust. We were a little worried that it would not be possible to clean afterwards. The floor protection was still not laid despite our ID saying he would do so.
Week 11 (04 Dec 17 to 10 Dec 17)
Our house had turned into a war zone of sorts, with boxes from our home appliances, sanitary ware, etc dumped in the middle of the living room. And by now we could barely see the brown colour of our vinyl flooring – it was almost completed covered with dust, paint splatters, and dirt. Protection was never laid.
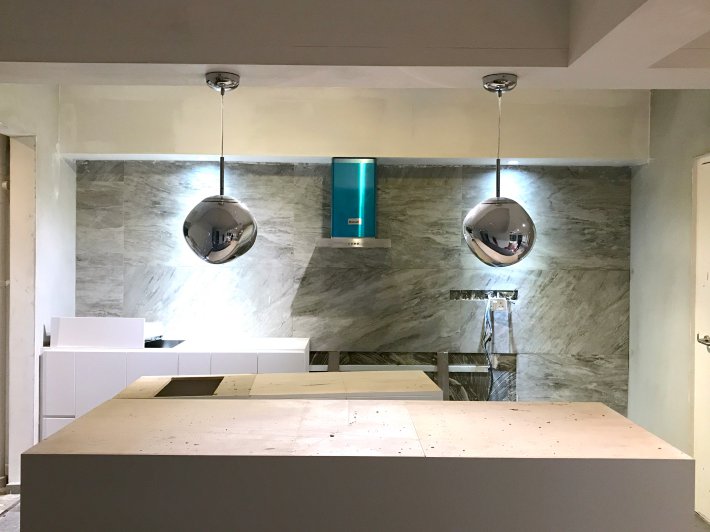
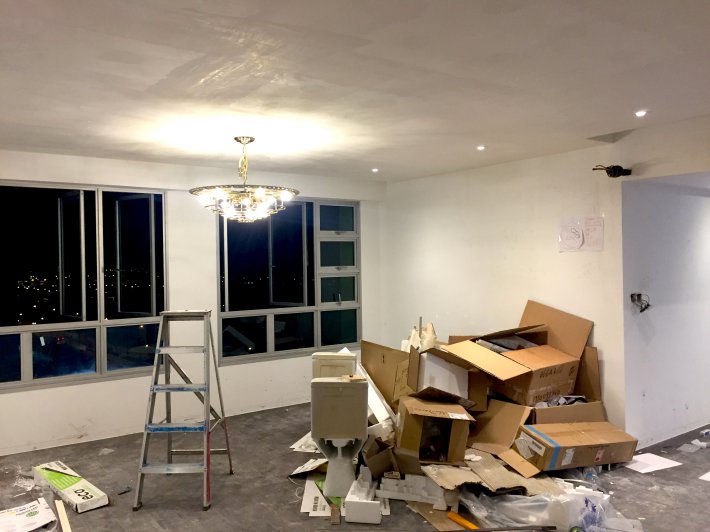
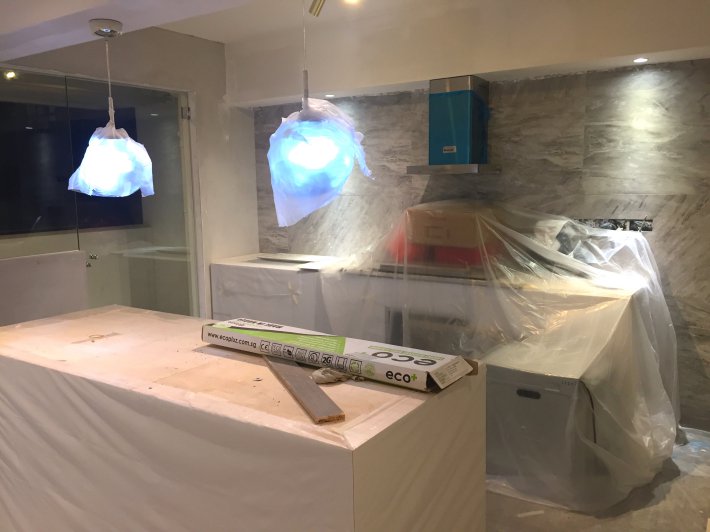
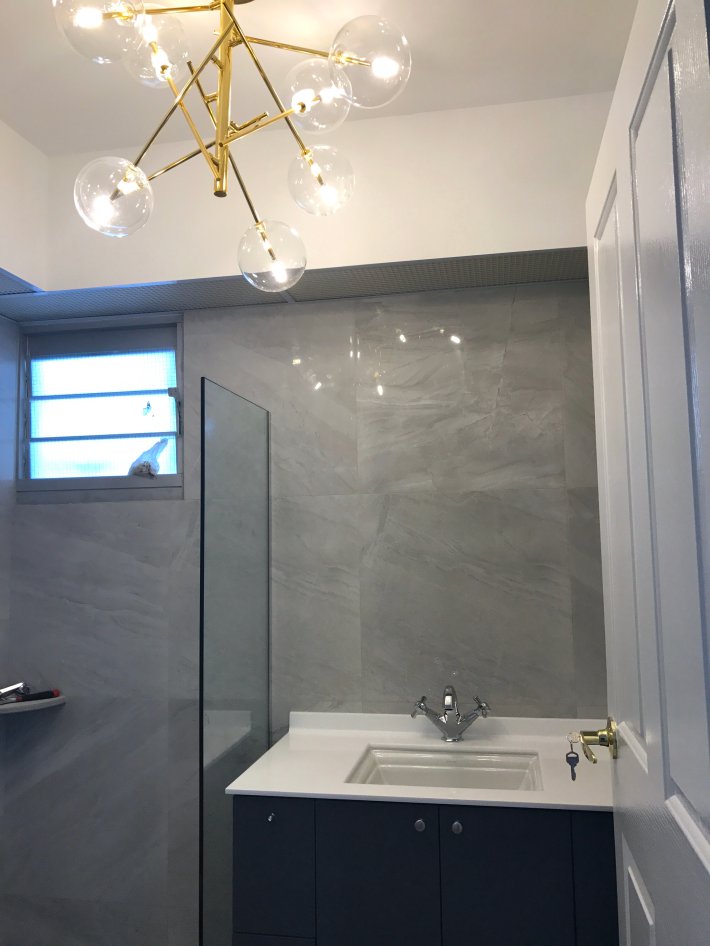
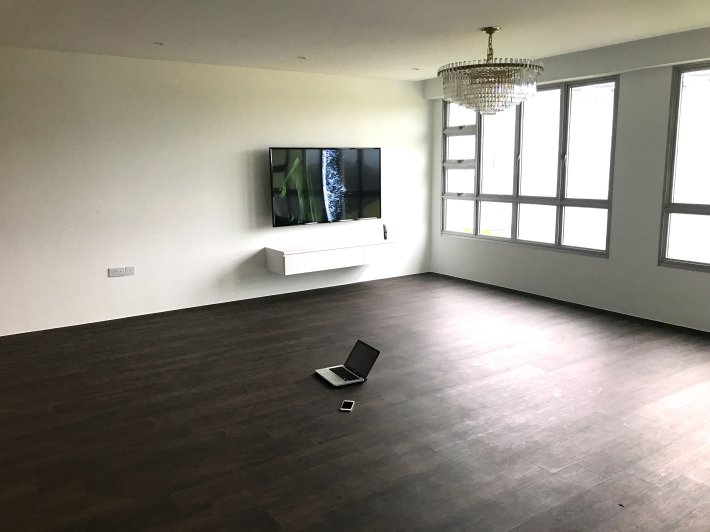
The electrician installed most of our lightings. These included the spotlights around our house, the pretty pendant lights above our kitchen island, the T5 lights in our toilets, and the chandeliers in our living room and MBR.
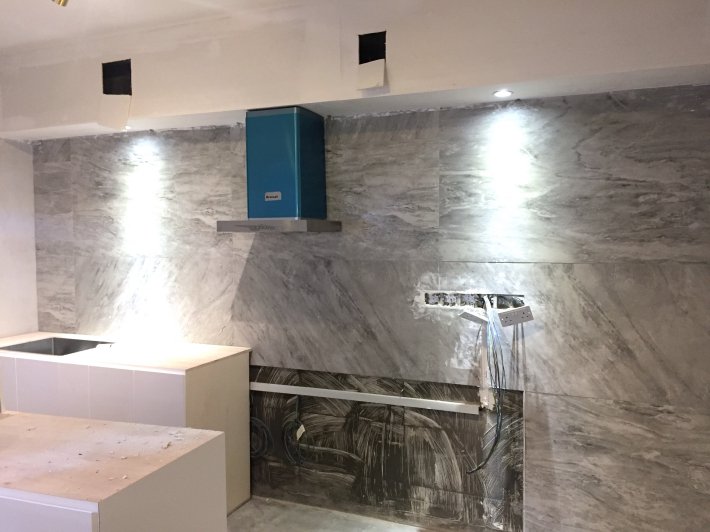
We installed two spotlights in our kitchen box-up.
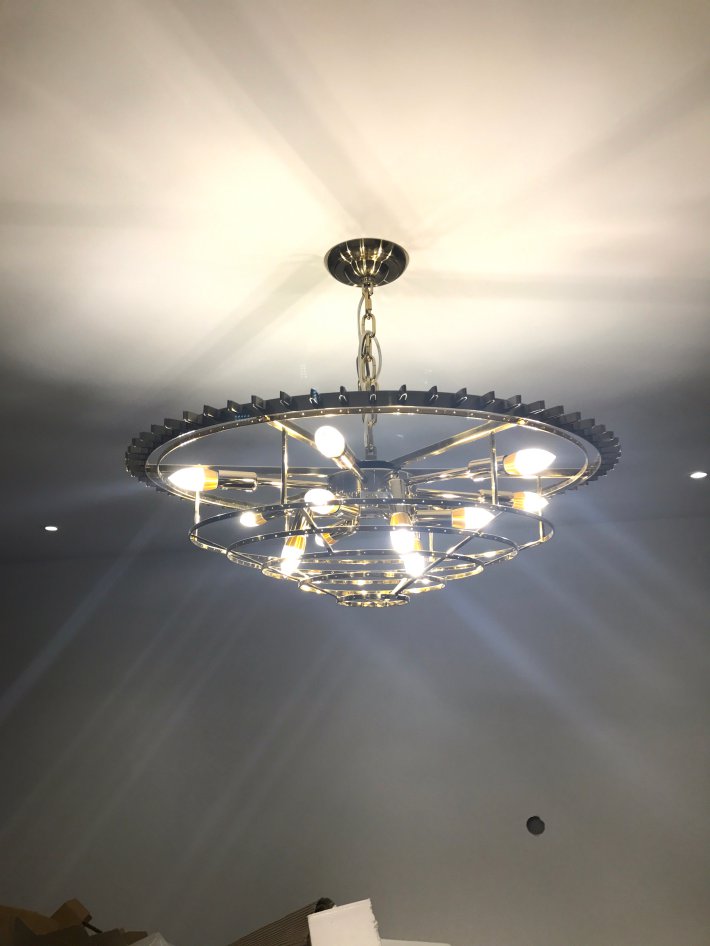
Our living room chandelier was installed.
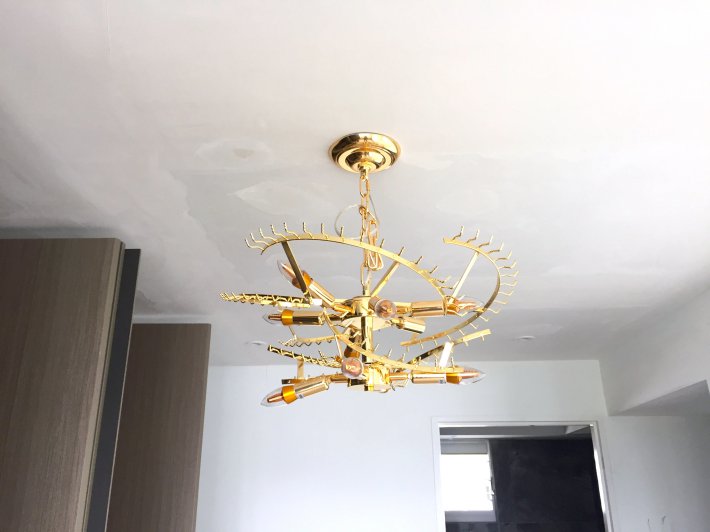
Our MBR chandelier was installed.
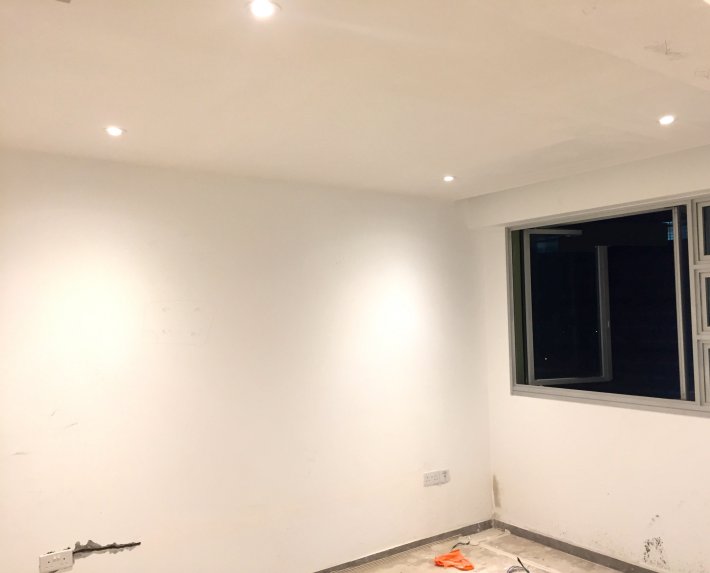
Our MBR spotlights were installed.
The T5 lights in our toilets were installed.
Our toilet mirrors arrived intact! Initially we were worried that they would break during shipping, so we were really happy to see them in one piece. Our toilet pendant lights arrived too, and we spent a few hours setting up the frames. We received our basin faucets too.
Week 12 (11 Dec 17 to 17 Dec 17)
Our house was painted this week! Our floors and carpentry were covered with plastic in preparation for the painting works. We wanted to paint our house white, but after going down to a Nippon Paint shop, we were annoyed but also amused to realise that there were so MANY variations of white.
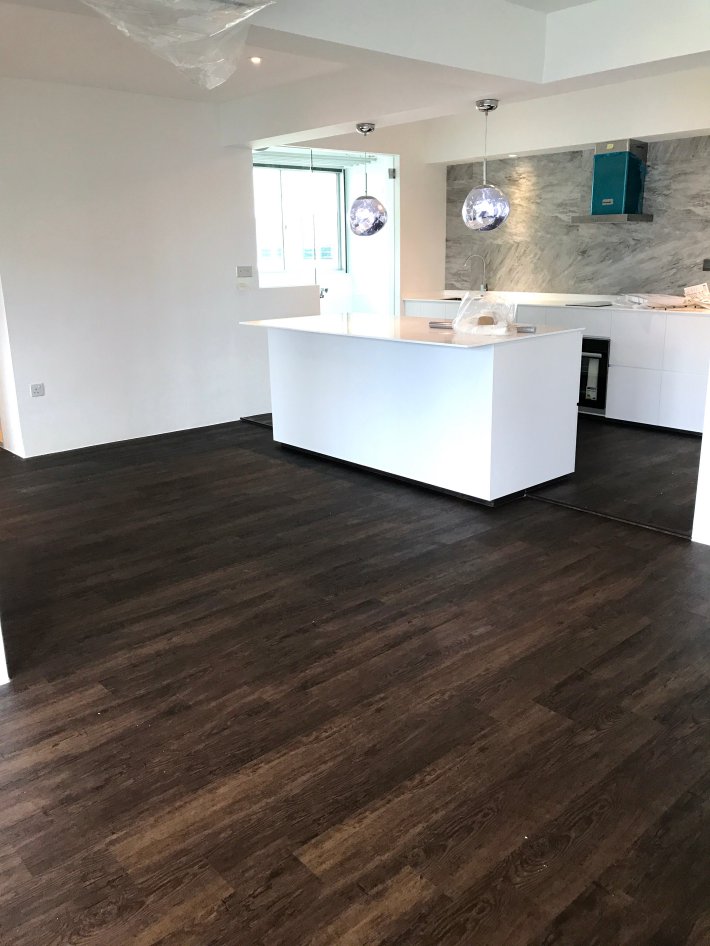
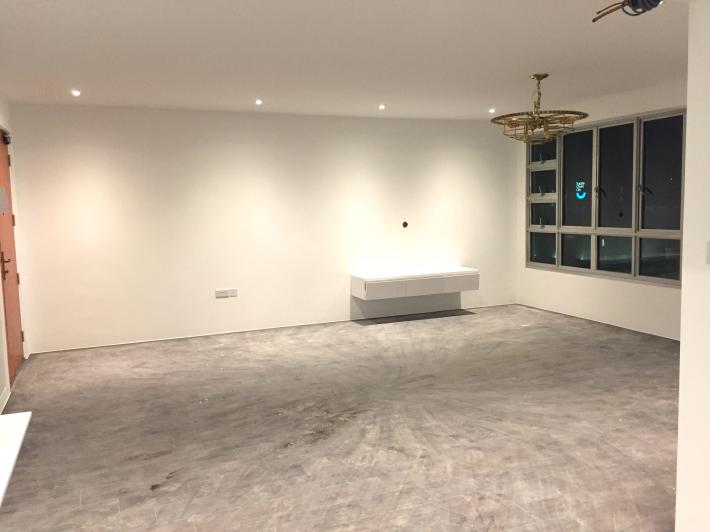 our living room after painting!
To help us decide, we took home many paper samples from the shop. After a long consideration, we finally chose the colours. For our MBR, we used the Nippon Paint NP OW 1049P Special Touch. For the rest of the house (living room, kitchen, service yard, storeroom and study room), we used Nippon Paint 1001 Brilliant White.
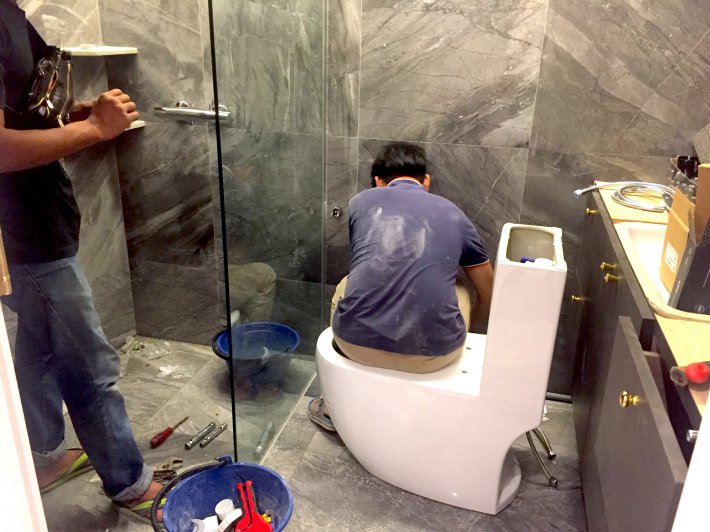
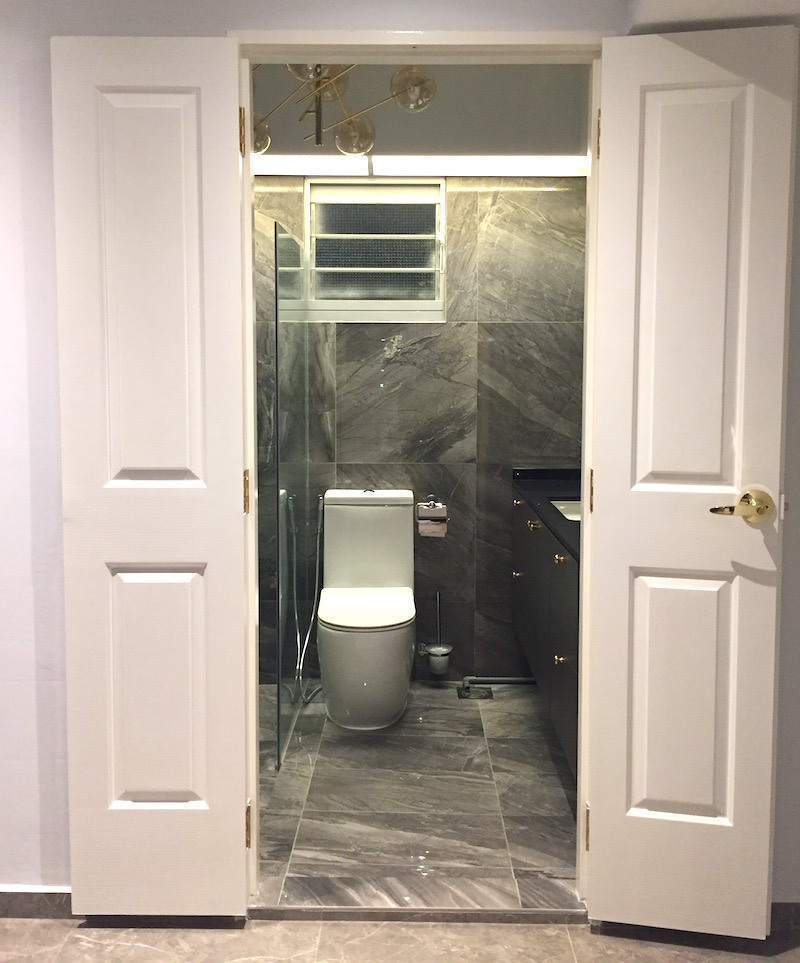
The workers installed our toilet bowl and bathroom fittings from Summer Hardware, shower glass panels, service yard glass door, and storage water heater.
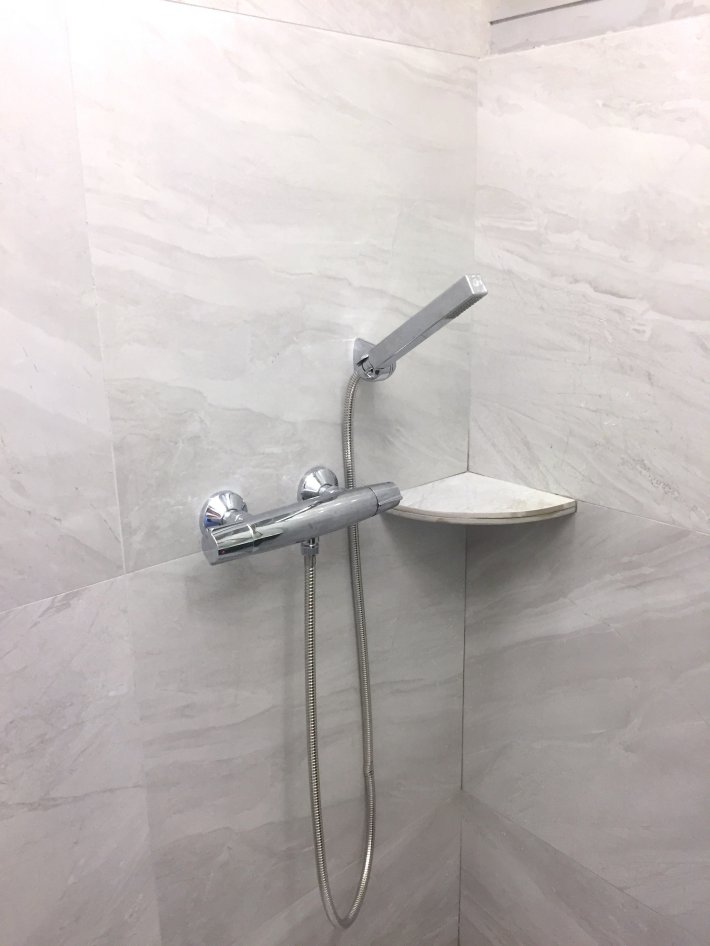
Our common toilet mixer and handshower were installed.
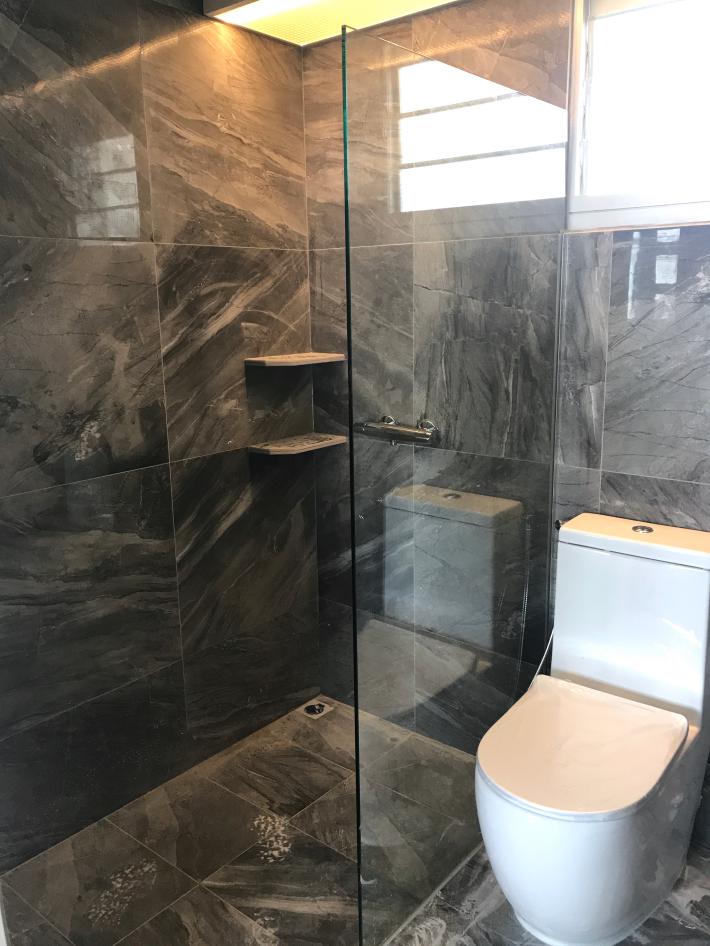
Our shower glass panel was installed. The glass door had not been installed yet.
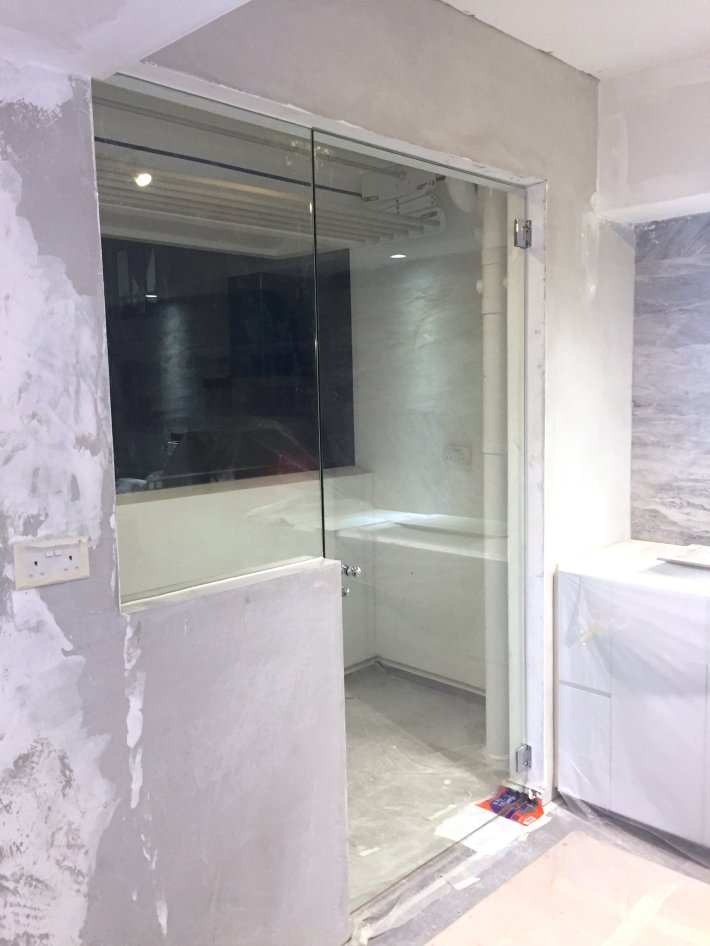
Our service yard glass door and window were installed.
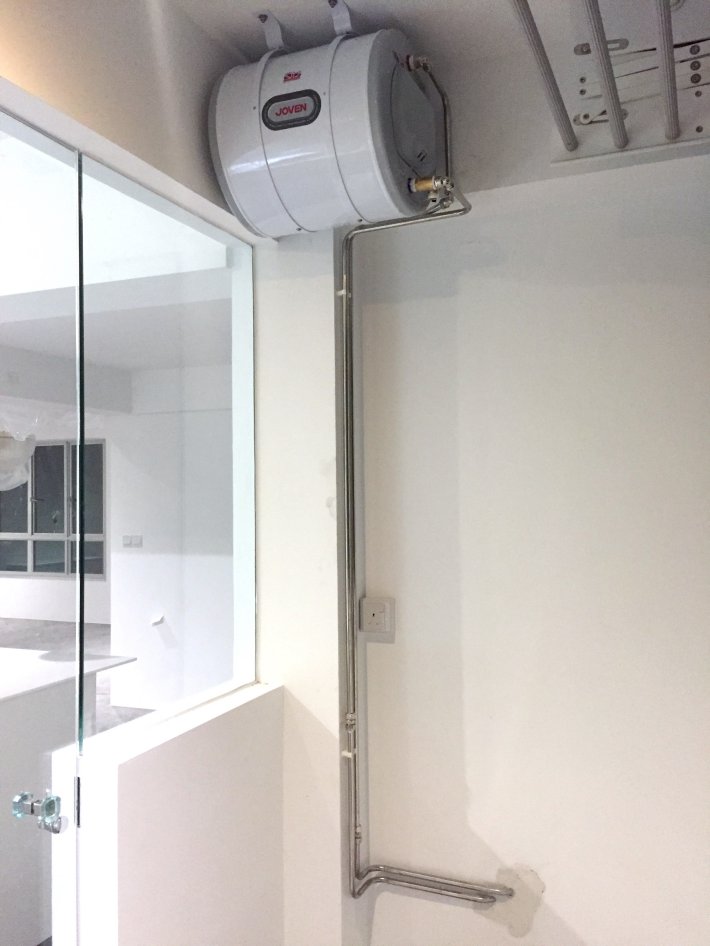
Our water storage heater was installed in the service yard.
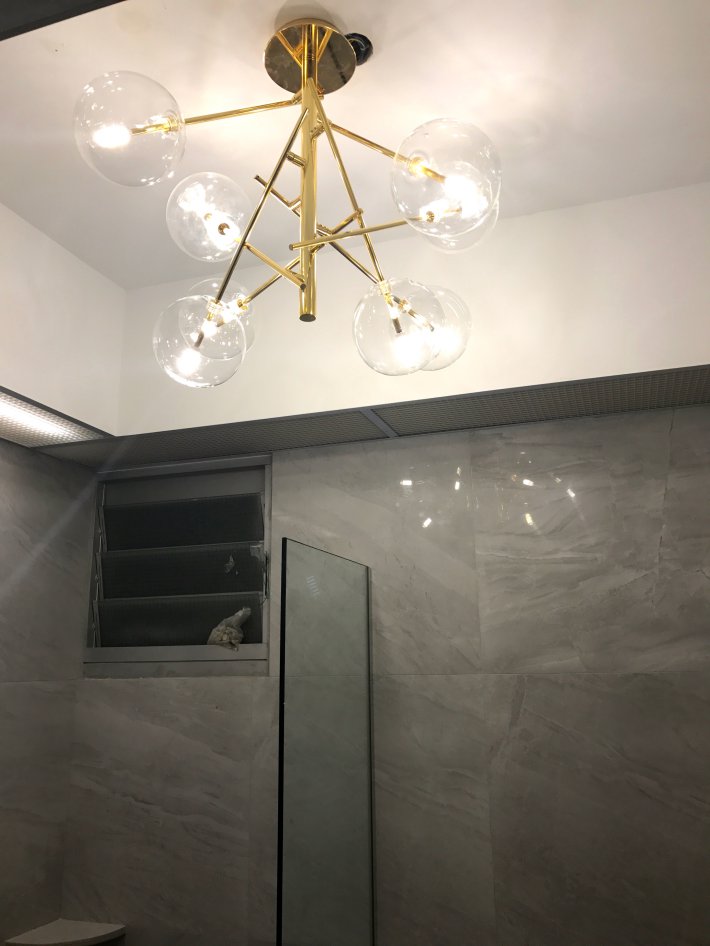
The electrician installed our pretty pendant lights in the MBR toilet and common toilet.
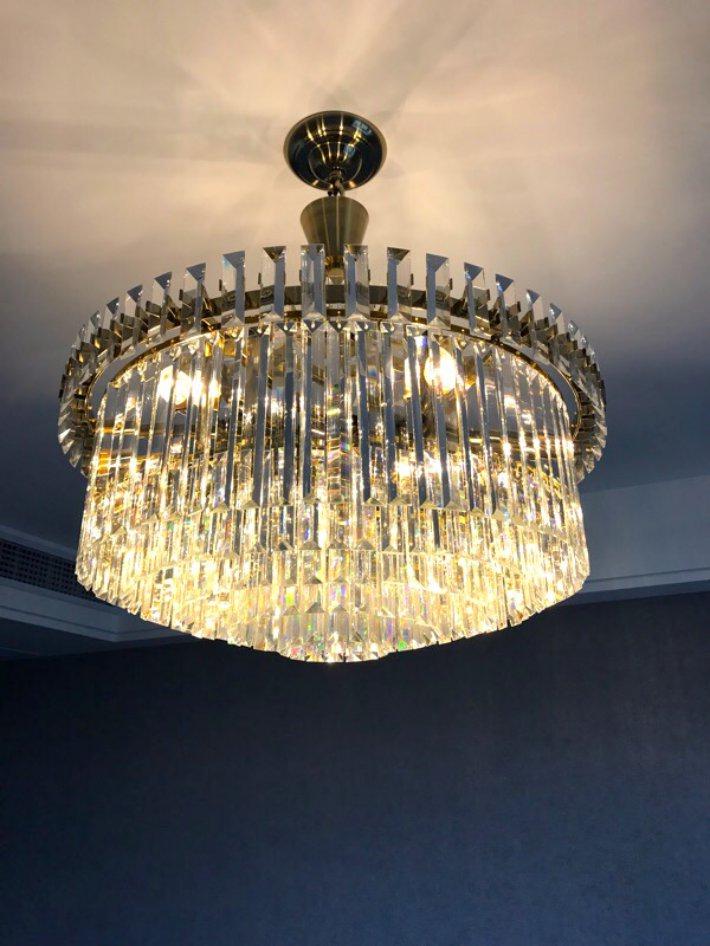
We put up the crystals for our living room chandelier! It took us about 3 hours but it was very satisfying to see the beautiful end result.
We were informed by our ID that the MBR basin tap could not fit onto the cabinet because it was too big. This was despite us informing him of the dimensions very early on.
Our ID admitted that it was his oversight and he offered to pay half for a new smaller faucet. However, we were quite frustrated as we had spent a long time shopping around for that particular faucet design.
Luckily, after some discussion, we realised that since our MBR toilet doors were outward swinging, the contractors could shift the cabinet outwards to fit our original faucet. This was a huge relief.
Week 13 (18 Dec 17 to 24 Dec 17)
There was quite a bit of activity this week!
We inspected the painting job and pasted post-it notes on places which required touch up.
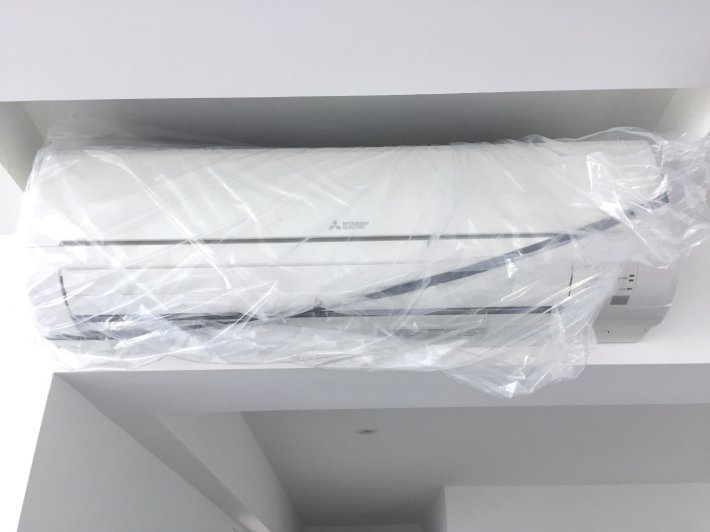
Our air-conditioning blower units from Harvest Aire were installed! We have been using the air-conditioners for about half a year now and there have been no problems at all. We highly recommend this great aircon-installation company.
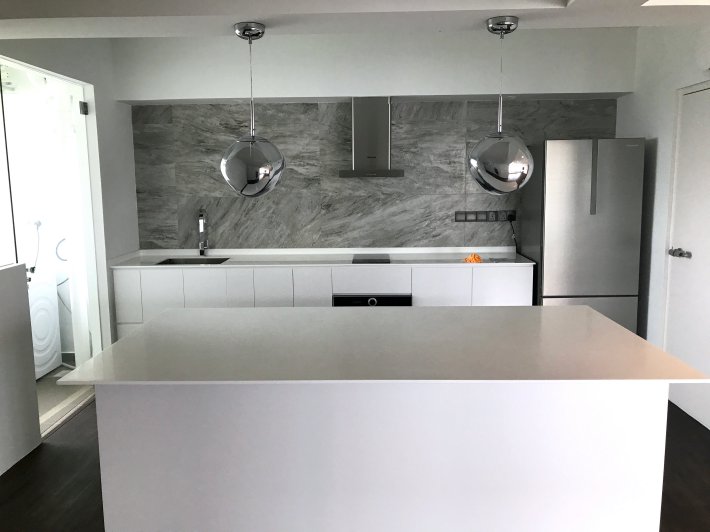
Our kitchen island white solid top (NS001 from Bellus Group) was installed. We chose white because it blended in our with our kitchen theme. And we chose to use a solid top due to its affordable price and reasonable durability.
However, we were really frustrated when we realised that our ID had gotten the dimension of our solid top wrong. It was supposed to be 2cm thick, but after it was installed we saw that it was only 1.2cm.
This was really frustrating because we had already agreed upon the dimensions in our carpentry elevations earlier. And more critically, it affected the look of our kitchen design.
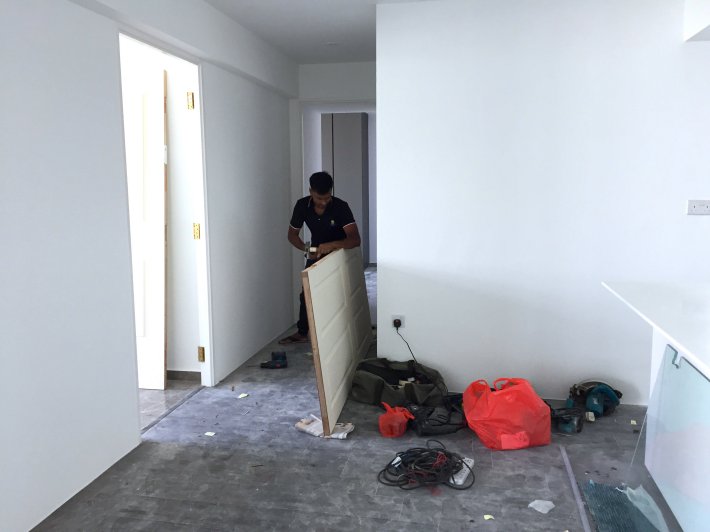
The guys from Home Door Enterprise came to install our rooms and toilets doors. We picked this company because of the affordable price, great service, and pretty doors.
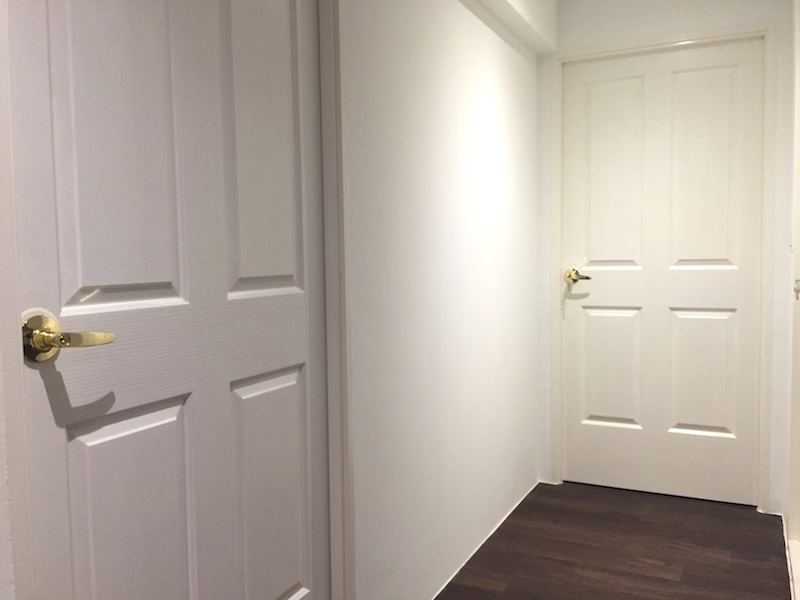
We bought our sleek gold door handles from Shanghai Tong Lee Hardware Pte Ltd.
The wife single-handedly put up the crystals for our MBR chandelier. It took her about two hours in total, and she was pretty proud of it.
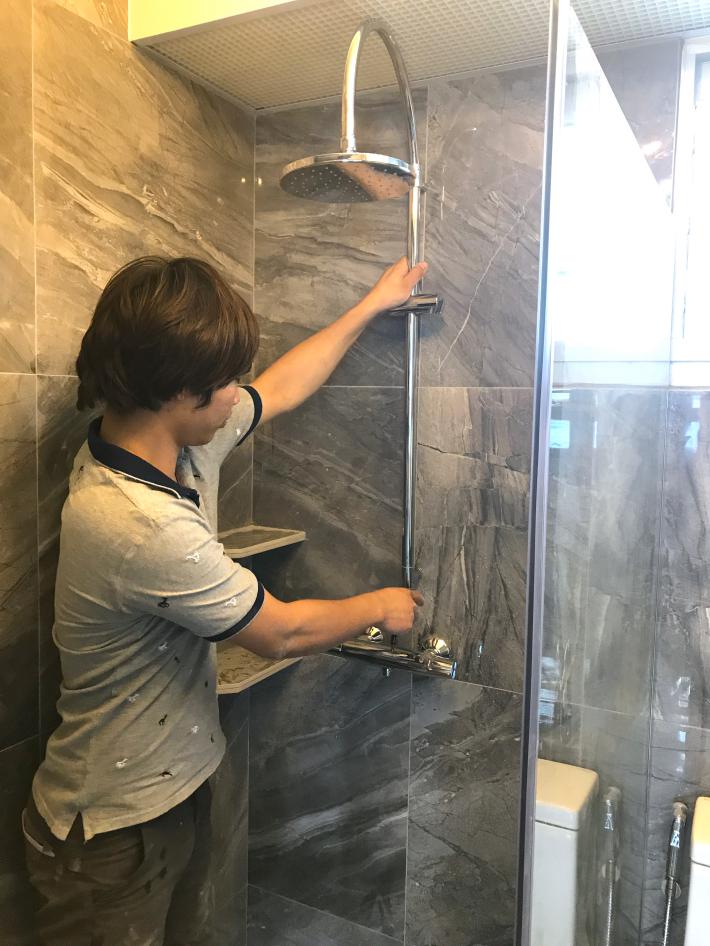
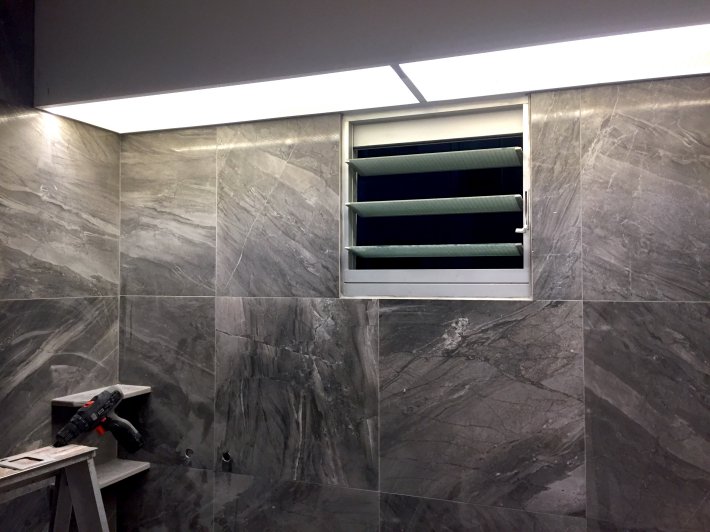
The contractor installed our Kohler rainshower from KHK Asia. As you can see from the picture above, due to the curved rainshower column design, it could not be installed very high due to the HDB box-up (used to conceal aircon pipes).
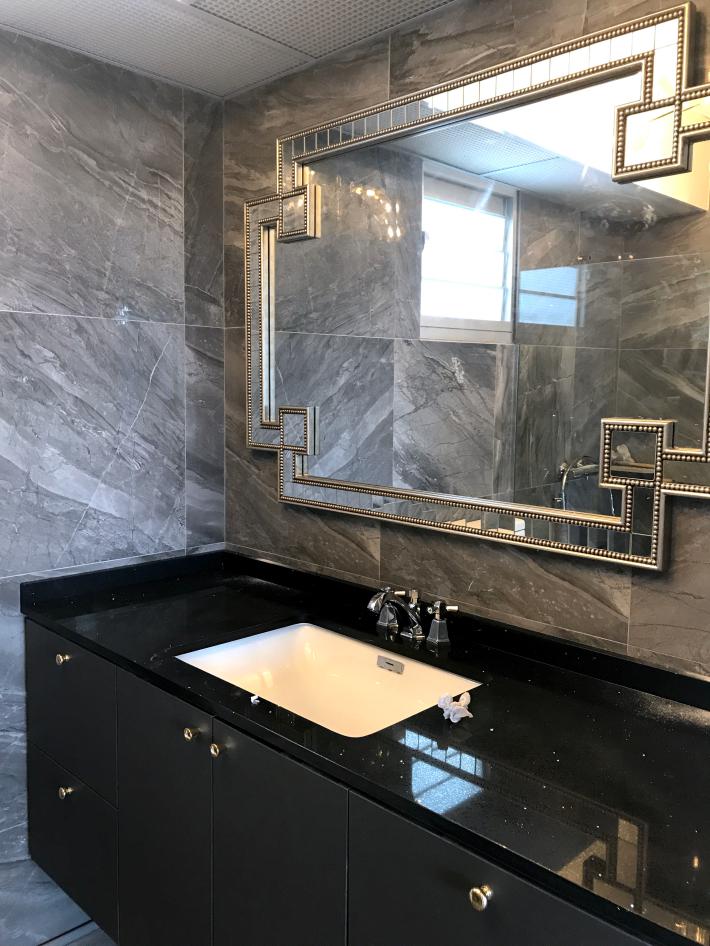
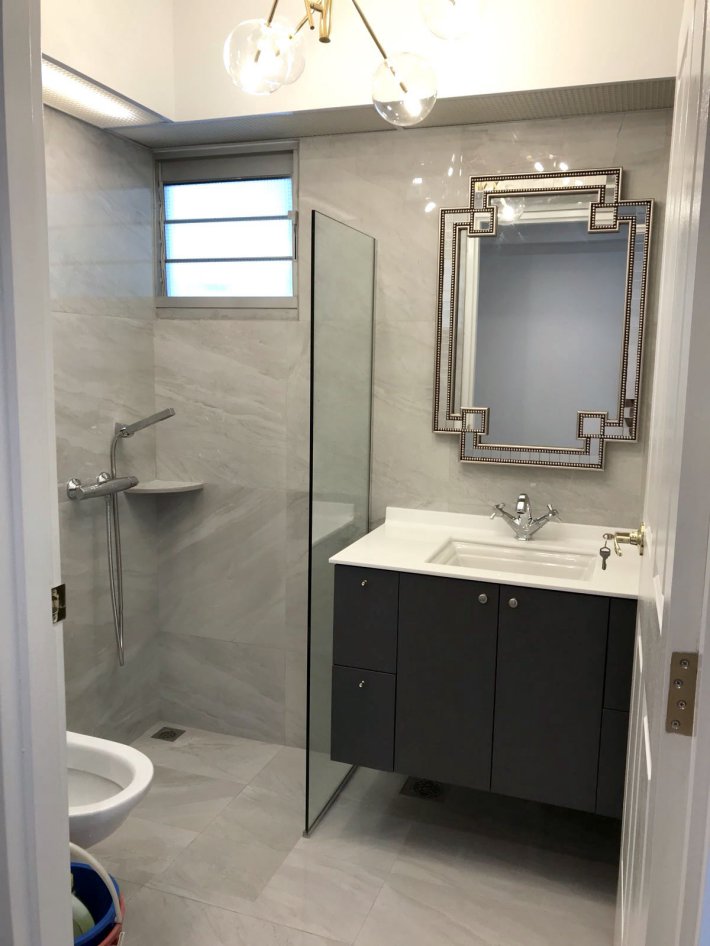
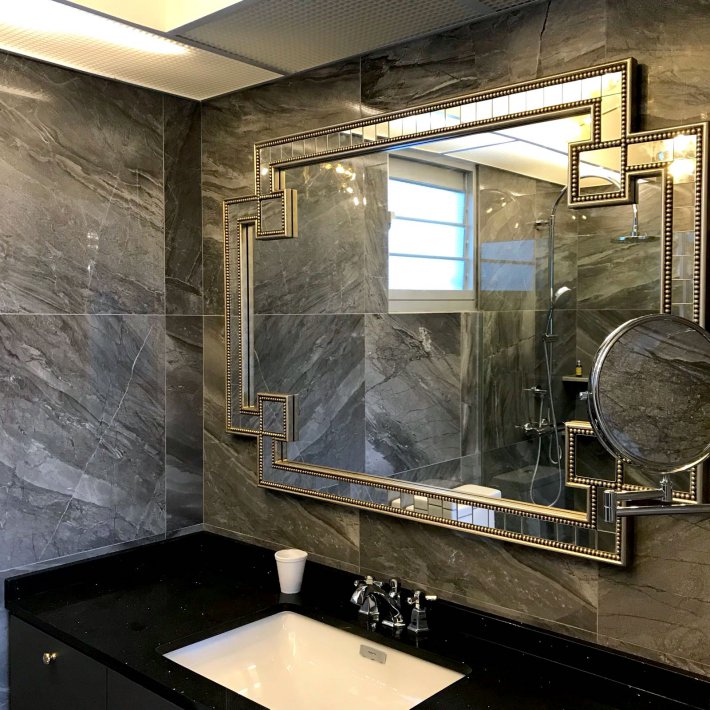
Our toilet mirrors were installed. We chose this mirror because of its luxurious vintage design.
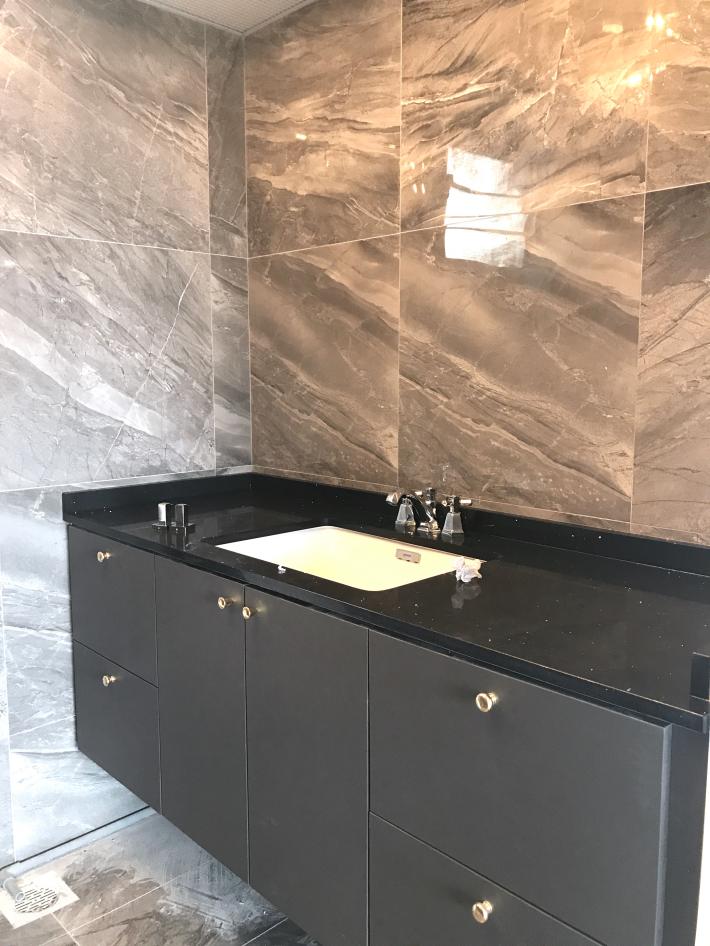
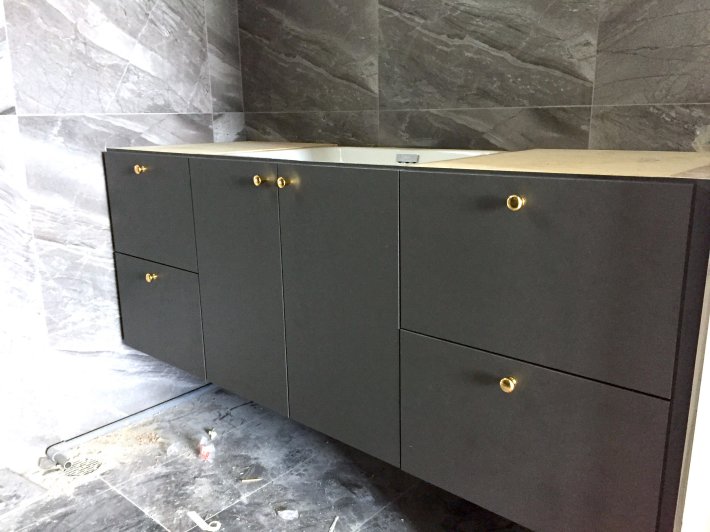
After some delay, the MBR toilet cabinet was finally shifted outwards to fit our faucet. The black quartz top (Caliginous Galaxy from Zaroc Pte Ltd) was laid too.
Our common toilet faucet was installed. For the common toilet cabinet, we used the same solid top as our kitchen (NS001 from Bellus Group).
By now our vinyl flooring was completely white from the renovation dust and dirt. Our ID’s cleaners did one round of cleaning which removed most of the dirt.
However, there were still many visible dusty patches and dirt trapped between the vinyl planks. Therefore, we spent Christmas Eve cleaning up the floor.
First, we swept the floor.
After that, we created a cleaning solution by adding a small amount of distilled vinegar and dishwashing liquid to a pail of warm tap water.
This is because vinegar is a mild and natural substance. Dishwashing liquid is also a very mild chemical since it comes into direct contact with the hands.
We didn’t want to use strong detergents as that might damage the vinyl flooring.
We used a cloth to wipe the entire floor surface with the cleaning solution.
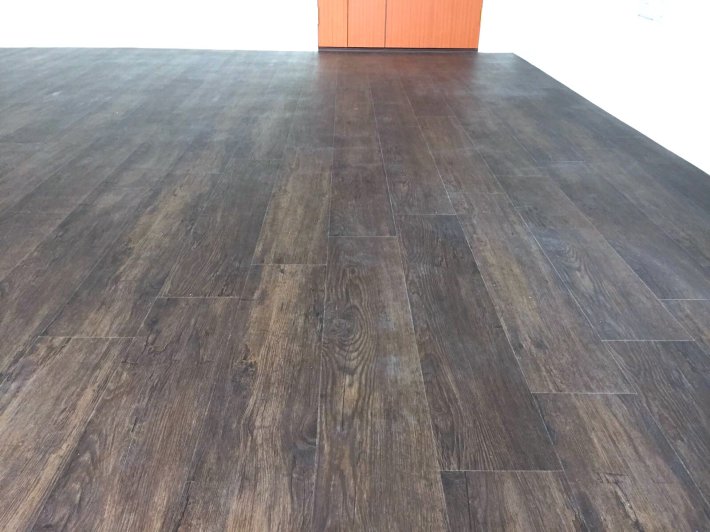
Above is our our vinyl flooring after a second round of cleaning by ourselves.
We also put many plastic cups of baking soda in our kitchen cabinets and wardrobes to get rid of the chemical smells from the carpentry. Baking soda is a cheap and harmless natural substance that is quite effective at removing odours. We left the baking soda inside the cabinets for two weeks.
Week 14 (25 Dec 17 to 31 Dec 17)
On Christmas Day, we spent half a day cleaning our vinyl flooring a third round. After that it was much cleaner, though we still could not manage to get rid of various dusty patches, and dirt stuck between planks.
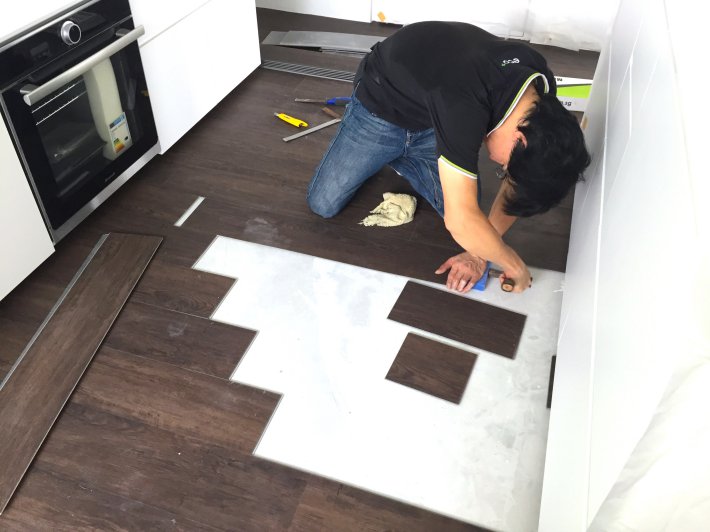
The Ecopluz staff came down to replace several vinyl planks that were damaged during the renovation, and used silicone to touch up some gaps.
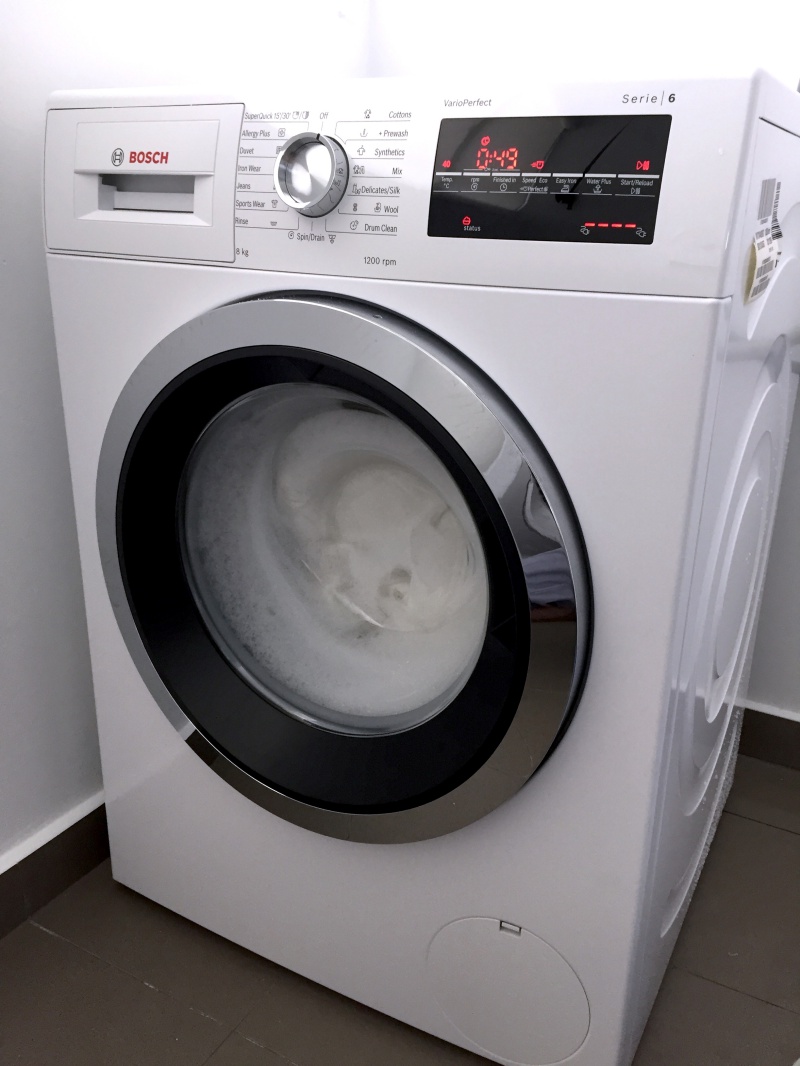
Our Bosch washing machine and dryer from Harvey Norman Millenia Walk arrived. We bought a pipe fitting to connect our washing machine pipe to the faucet. We found out the hard way that we needed to cover the faucet’s threads with white tap (also known as Teflon Tape or PTFE tape) before connecting the pipe. Without white tap, the water leaked and splashed everywhere.
Our television set arrived as well and we were really happy to start watching our favourite shows.
The electrician came down to connect the wires for our water storage heater.
Week 15 (01 Jan 18 to 07 Jan 18)

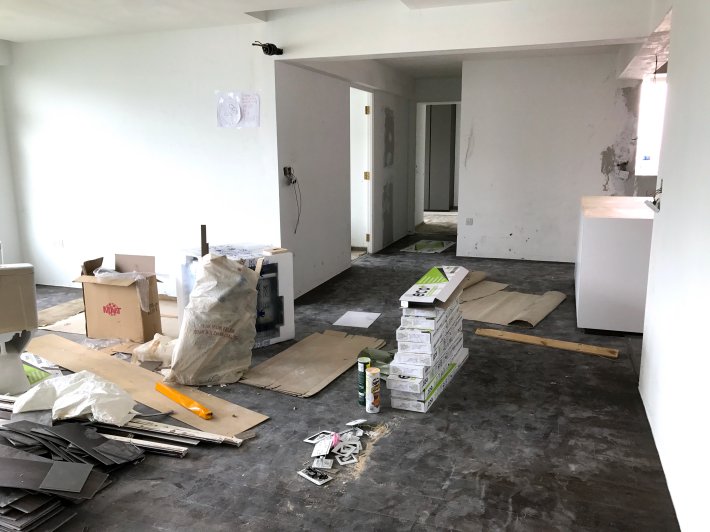
our study room (nothing much was done)
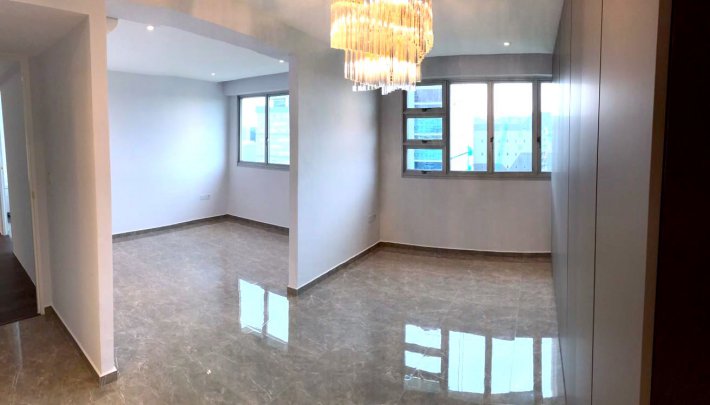
Our renovation was mostly completed! Above are some pictures of our house at week 15.
Week 16 (08 Jan 18 to 14 Jan 18)
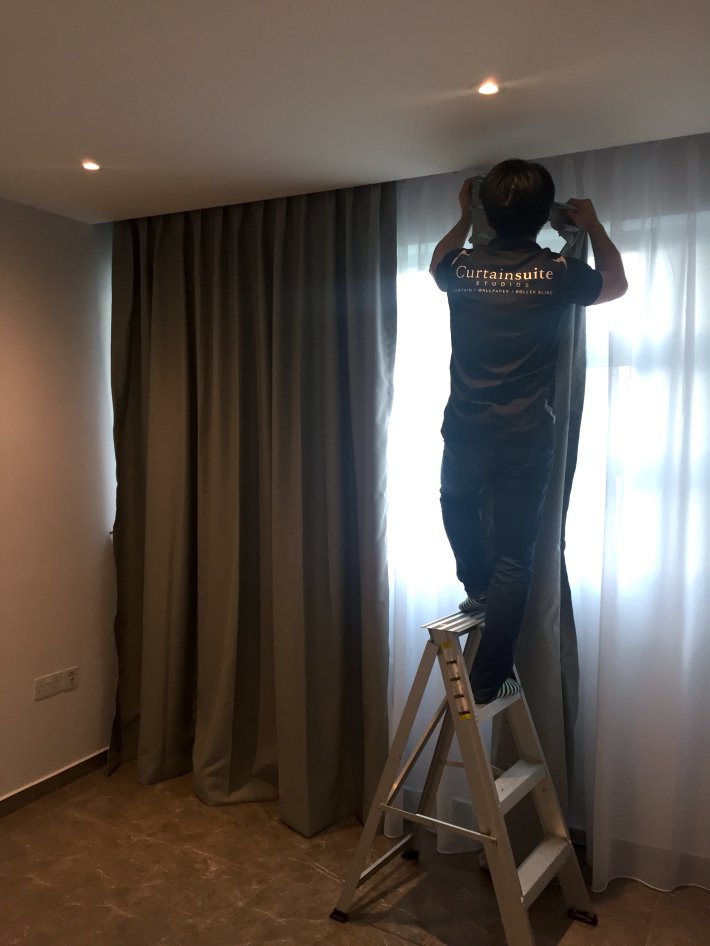
The guys from Curtain Suite came down to install our curtains and blinds!
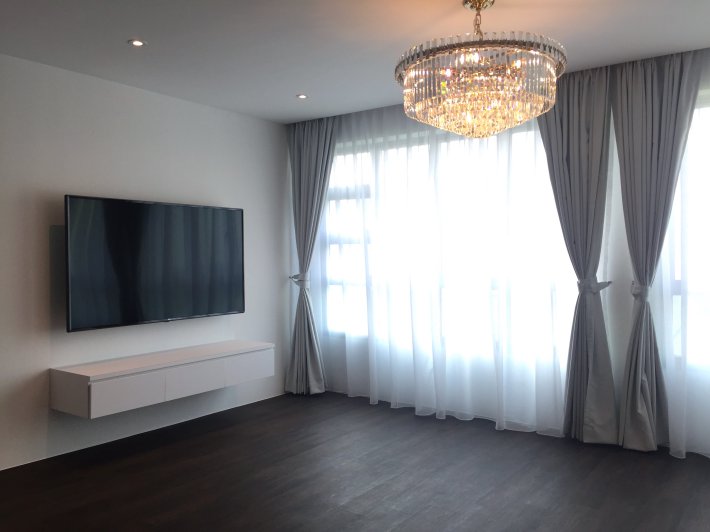
We like how the luxurious curtains elevate the look of our house.
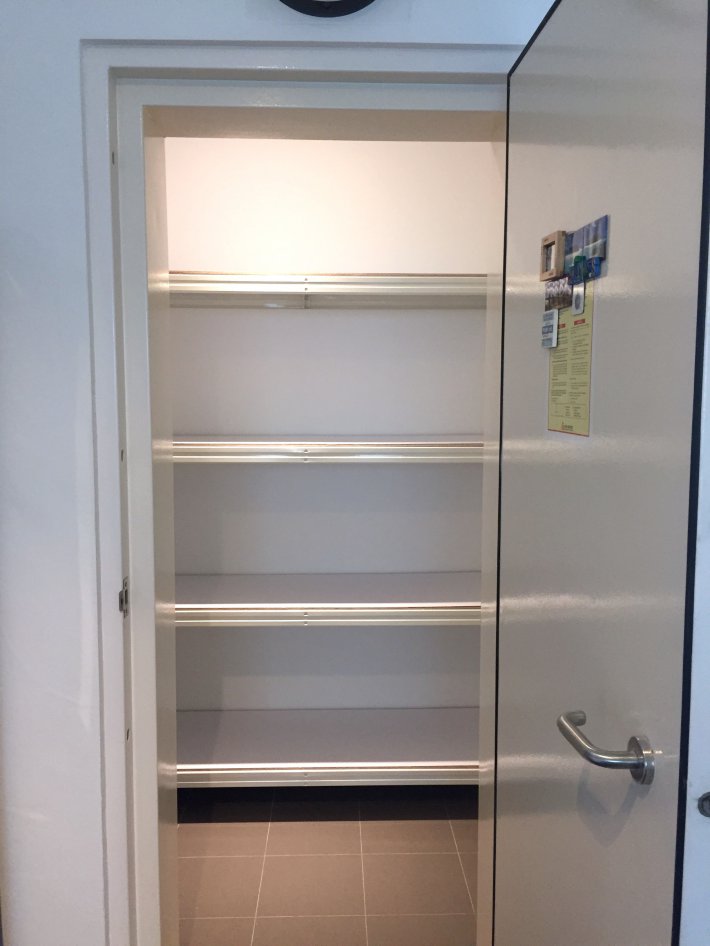
We engaged Store Rack to install sturdy racks in our storeroom. We badly needed the racks to keep our tons of belongings.
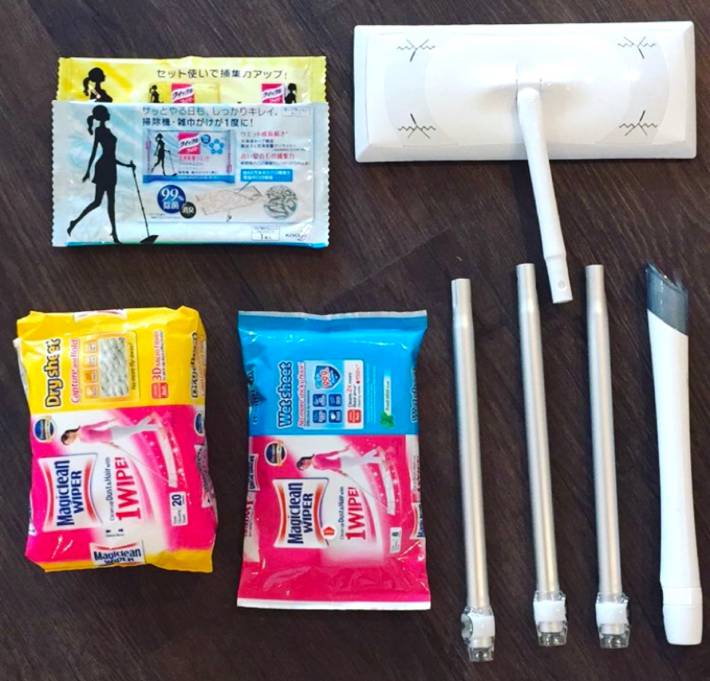
For our final round of cleaning, we used the lovely Magiclean Wiper (the person who invented this is a cleaning genius).
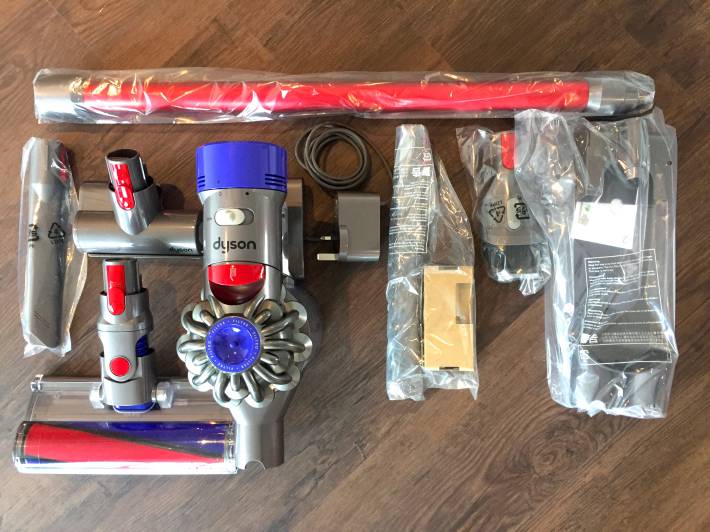
We also used our effective Dyson V7 vacuum cleaner. We like that it is cordless which makes it a lot more convenient to use.
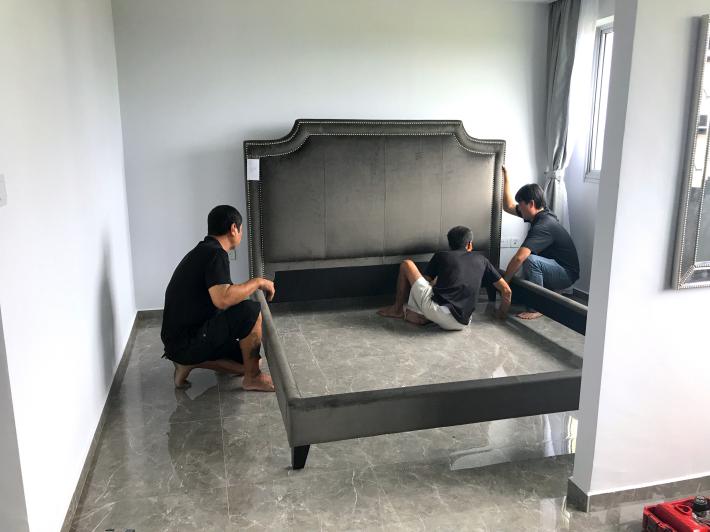
Our charming bed frame from Taylor B Fine Design arrived. We love the furniture from this shop and we highly recommend checking it out if you are looking for home furniture and accessories in Singapore.
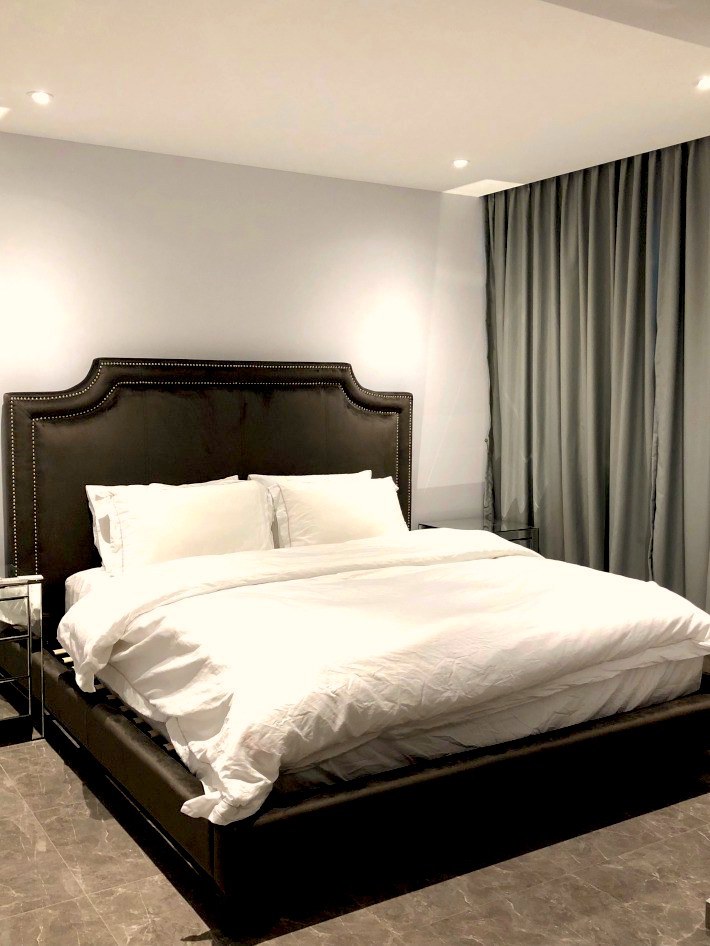
Our comfy Getha latex bed arrived. We chose to buy a pure latex bed because of its many benefits: a good balance of support and plushness, durability, lack of toxic chemicals, and many others.
The M1 staff came down to set up the 1Gbps Fibre Broadband wifi for our house. It cost just $39 per month which was the cheapest 1Gbps plan among the major ISPs.
And with that, our renovation was completed! We started discussion with our ID on 06 July 2017, the workers started renovation works on 29 Sep 2017, and renovation was completed in early January 2018. We moved in on 21 Jan 2018, an auspicious date given by Master David Tong.
Therefore, our entire renovation process took about six months, which is significantly longer than other renovations which usually take just three to four months. It was a long and tedious process, but at least it was completed without any major hiccups. We were just happy that it was over. Finally, we had a cozy and comfortable den to call our own!
This article is part of our completely free and super informative Singapore Home Renovation Guide. Why spend weeks researching when all your renovation information is simply a click away?
35 Comments and Questions
So how much did you pay for everything in total, and what’s the breakdown of renovation, appliances, etc?
Hi E I didn’t manage to provide a breakdown because we spent on so many different things. Hopefully one day I can work it out and include it in the article.
Hi there,
Did you engage any ID or did you have your own contractor?
Hi Cherry,
We engaged an ID.
hey congrats on your new house! Hope you’ve been enjoying so far!
Can I check with you with regards to YIS Living? We’re tempted to use them but as first time homeowners we’re trying to be as wary as possible.
If you do not mind, do share any feedbacks about them that you may have. =) Thank you!
Hi D! Hope you are having success with finding a good contractor for your renovation. Kenny from YIS Living was extremely responsive to our messages from the start. His quote was one of the lowest too. Workmanship wise, we went for a site visit of his previous project and it seemed quite decent from our brief overlook of the house. He is also one of those contractors that provides 3D drawings. However, ultimately we did not engage him because we wanted to find an ID instead. Hope this helps and sorry for the late reply.
Hi there,
Impressive, and I believe you took quite an effort to post these photos recording down the whole renovation process. For the whole project to take 6 months seems really long.
You have chosen your ID from a total of 10 of them. I wonder if there would be a change in criteria for your selection if you were given the chance to choose again. Able to share some pointers on selecting IDs?
Hi Zack,
Thank you! I meticulously recorded down the whole process because I felt it would be a useful reference for other new homeowners.
Yes six months is indeed pretty long. There were some delays during the renovation, for example our ID took quite long to produce the 3D drawings and carpentry elevations.
Selection of the ID is very much a personal process. What works for me may not work for you. I feel that there should be a personality match, and obviously you have to like the designs of their previous projects too.
If given the chance to choose again, we would probably go with a more experienced ID, make sure that he/she has done a decent number of projects before, and also that we like the designs.
For more details, you can refer to this article on our ID / contractor selection process.
Hope this helps!
Hi Evan,
Do you mind sharing estimated cost of the entire renovation excluding furniture and electrical appliances?
Love your house!
Hello Diana, in total we spent about 50k.
Thanks for your kinds words!
Hi, may I know where you bought the bathroom mirror? For your common toilet.
Hi Mel we bought it from here.
Hi Evan,
Thanks for your sharing. It has really been very helpful for me while I am planning for my renovation.
Could you kindly share the quartz that you used for your kitchen and your toilets?
Also, can you share if the tiles that you placed at the shower area for toiletries remain in good condition or stains/marks are observed?
I am thinking of doing that for my toilets as well.
Appreciate it.
Hi again Marcus!
You’re vey welcome, happy to help. Hope your door installation is going along well.
For the kitchen and common toilet cabinet top, we used “NS001” from Bellus Group (solid top). For our MBR toilet cabinet top, we went with “Caliginous Galaxy” from Zaroc Pte Ltd (quartz).
For the toilet tile ledges, they remain in good condition. However, for our MBR toilet, after every few weeks there will be running white stains from the edges of the tiles going down the walls. I think this may be due to the plaster used? It’s easy enough to clean away with normal detergents though.
Hey Evan,
Thanks for the information!
Measurement for doors are done, but installation will be at the last phase after all other renovation works are done.
Now I am reading your blog about Switzerland as I’ll be heading there in September.
Cheers
Hi! I saw that you did step down instead of the usual kerb for your bathrooms. I really like that more than kerbs. Do you need to get a permit from HDB to do the step down?
Hello K! My apologies for the late reply. We did overlaying of tiles for our bathrooms, which is why we were able to create a “step-down”. I do not think a permit is required for overlaying.
Your DB box with silver laminate, I want to ask you about installing cabinet without shoe shelves at DB box with centre portion opening?
Hi CM, I’m sorry I don’t really understand your question. Yes we built a cabinet with shoe shelves below the centre silver laminate opening.
May I just find out, how much is the overlay of kitchen wall tiles (including the cost of the tiles)?
Thank you very much =)
Hi Sarah!
Below is the breakdown, let me know if you have other questions.
Name of tiles: Flaviker (SP. Silver Dre Ant 60cm x 120cm), bought from Hafary Gallery
Cost of tiles: $9.42 psf
Cost of labour: $8.80 psf
Kitchen wall size: 94psf
Total cost: ($9.42 + $8.80) * 94 = $1,712.68
Our ID also charged us an additional $120 in labour costs because the 60×120 tiles were bigger than average size.
Cheers,
Evan
Hi Evan,
Thank you so much for your reply. I really love your house!
Just one more question, how much is the cost of your toilet floor tiles and cost of labour?
Thank you once again!
Hi Sarah!
You are very welcome. See below. My ID consolidated both the costs of tiles and labour together in the total amount, so I am not exactly sure of the breakdown.
Toilet wall tiles (tiles cost $3.85 psf): $2656 (common toilet), $3036 (MBR toilet)
Toilet floor tiles (tiles cost $3.42 psf): $570 (common toilet), $713 (MBR toilet)
You can refer to our floorplan to see how big our bathrooms are.
Hi Evans,
I see that you had levelled the slope at your main entrance. Did your contractor have to hack away the slope to rebuild the kerb? May I ask how much you were charged for it? Is the kerb better to have than a slope?
Thank you.
Hi Daphne!
No there was no need to hack away the slope at all. The contractor basically just used cement to level the slope, and we were not charged for this service. After that, we covered the kerb with the same vinyl flooring as the rest of our living room.
We chose to have a kerb instead of a slope because we do not want water to seep in during the public corridors washing. The estate cleaners use power jet washers so we were a little concerned. In addition, my wife and I like the look of a kerb more than a slope =)
Hi Evan,
May I also ask you about the box-up for the fat pipes on the kitchen ceiling, is it made of mortar or board?
Hi Daphne,
It’s board.
Hello there =)
I am doing a box up for my kitchen pipes too. May I ask if you did an access opening for future inspection and maintenance? My ID said they do not do unless I insist, but I read HDB requires it to be done?
Hi MJ!
No, I did not build an opening for the box up. May I know where you read that it needs to be done? Thanks!
I read it here, Evan.
– Pipes
Enclosure/ encasement of service ducts/ piping (excluding gas pipe) using lightweight non-combustible materials
Hi MJ,
I see.. thank you for sharing the link with us.
Hi, can i check what is the size of your storage tank (e.g. 30/35L)?
Thanks!
Hi Daryl! It’s 25L. You can find more details here.
Hi, may i ask if the aircon pipe box up was done by your aircon installer or your ID? Mind sharing the cost? Thank you so much.
Hey Missty! The box up was done by my ID and it cost $600.