How to Plan Lighting and Electrical Works for Your House
It was quite a stressful experience planning the electrical works and lighting for our house. For the electrical outlets, we had to think hard about where we would use electrical appliances. For the lights, we had to visualize the type of lights we wanted, as well as the quantity required. It took quite a while to complete our final electrical and lighting plans. I have outlined our experience below and hopefully it will help with your own planning!
1. Our Electrical Plan
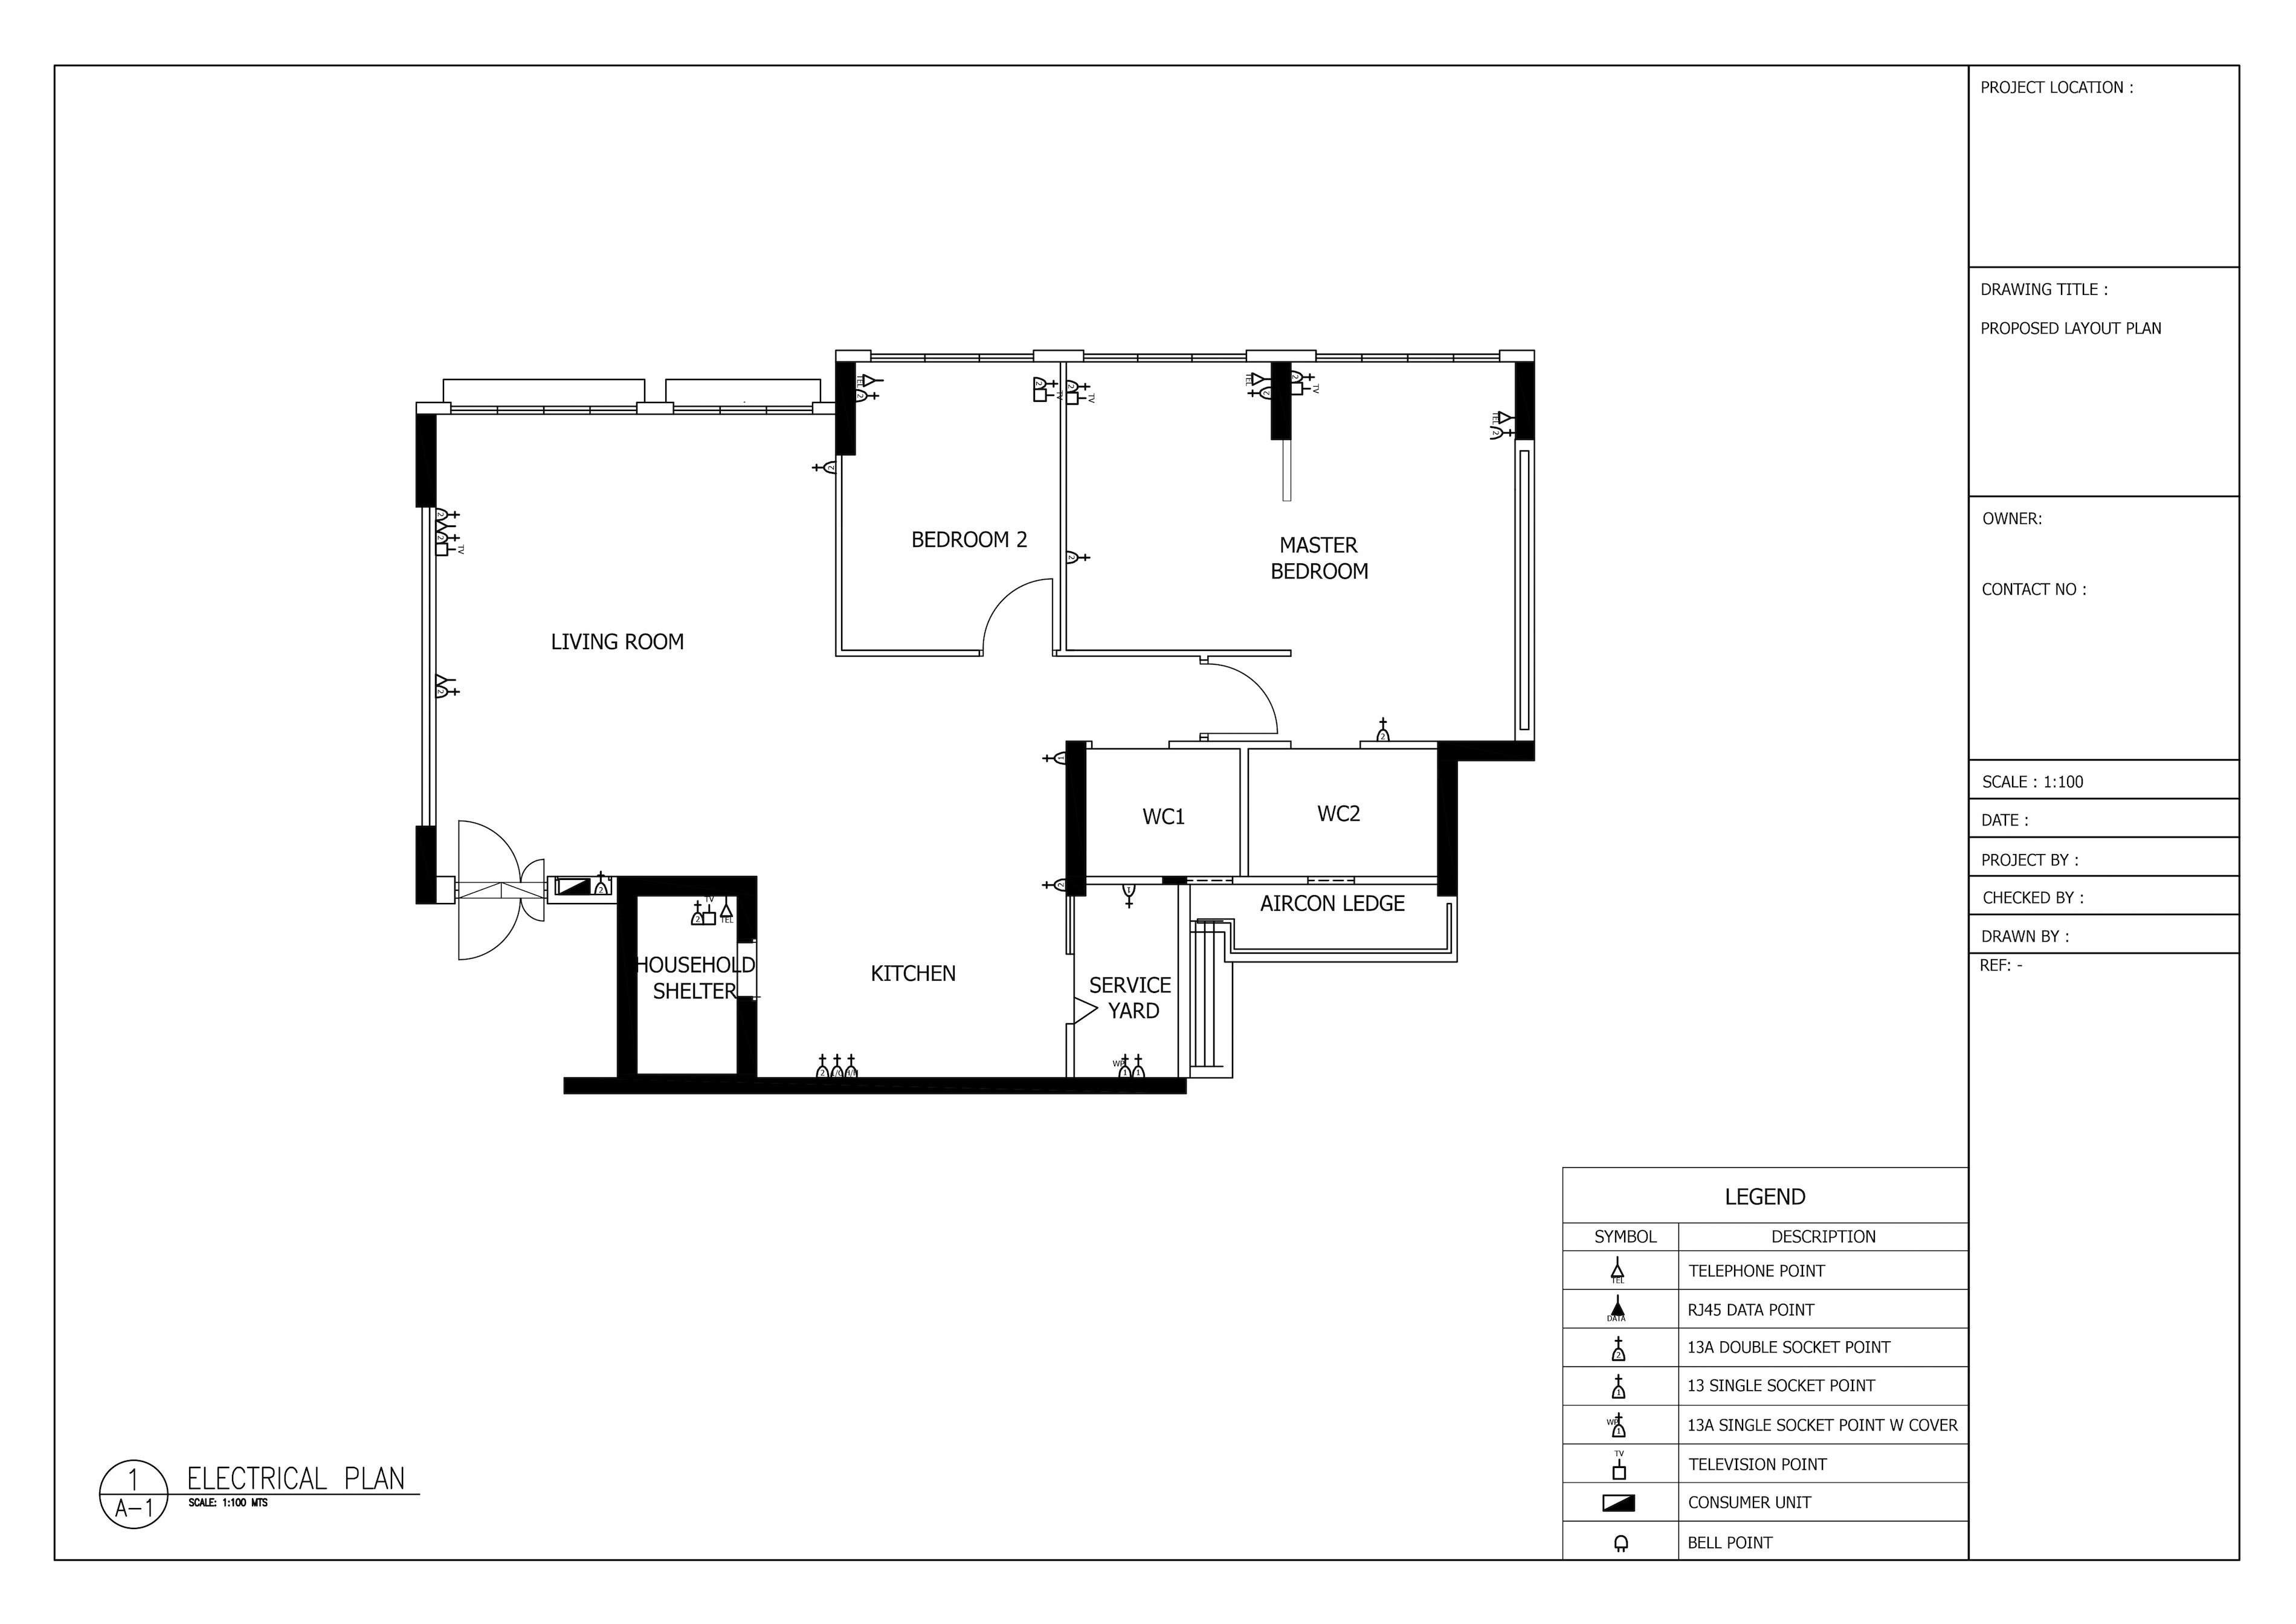 The above is our final electrical works plan, which you can use as a reference. Click on the picture to enlarge it. Some points to take note:
- We were quite lucky because our flat already has many existing power outlets. To decide whether we needed additional ones, we spent quite a bit of time visualizing where we would use electrical appliances. For example, we added one double socket point in our service yard because we wanted to put our water fountain beside the washing machine. We also added one socket point beside our bed because we wanted to put a lamp on the bedside table. If you like to dry your hair in the toilet, you can add a power outlet near the mirror too.
- There are two existing television points inside our Master Bedroom (MBR) which we did not use because we do not have a TV set in the room. (As you can probably tell, we knocked down the wall between two rooms to create our MBR)
- We thought very carefully about adding additional power outlets because firstly, any unnecessary outlets would be quite unsightly and would affect our house design. Secondly, it cost $100 to add an additional outlet – not a big amount but not insignificant too.
- For our kitchen wall, we requested our ID to change the switches from white to grey coloured ones so that they would blend better with our stone kitchen wall. We are really glad about this decision because the grey switches blend in with the color scheme very well.
- We checked the final electrical plan very carefully because we wanted to ensure there weren’t any mistakes. It would be very troublesome if any power outlets were missed out or installed in the wrong position. We also went through the quotation several times to ensure that the final price was correct.
2. Lighting Plan and Lighting Details
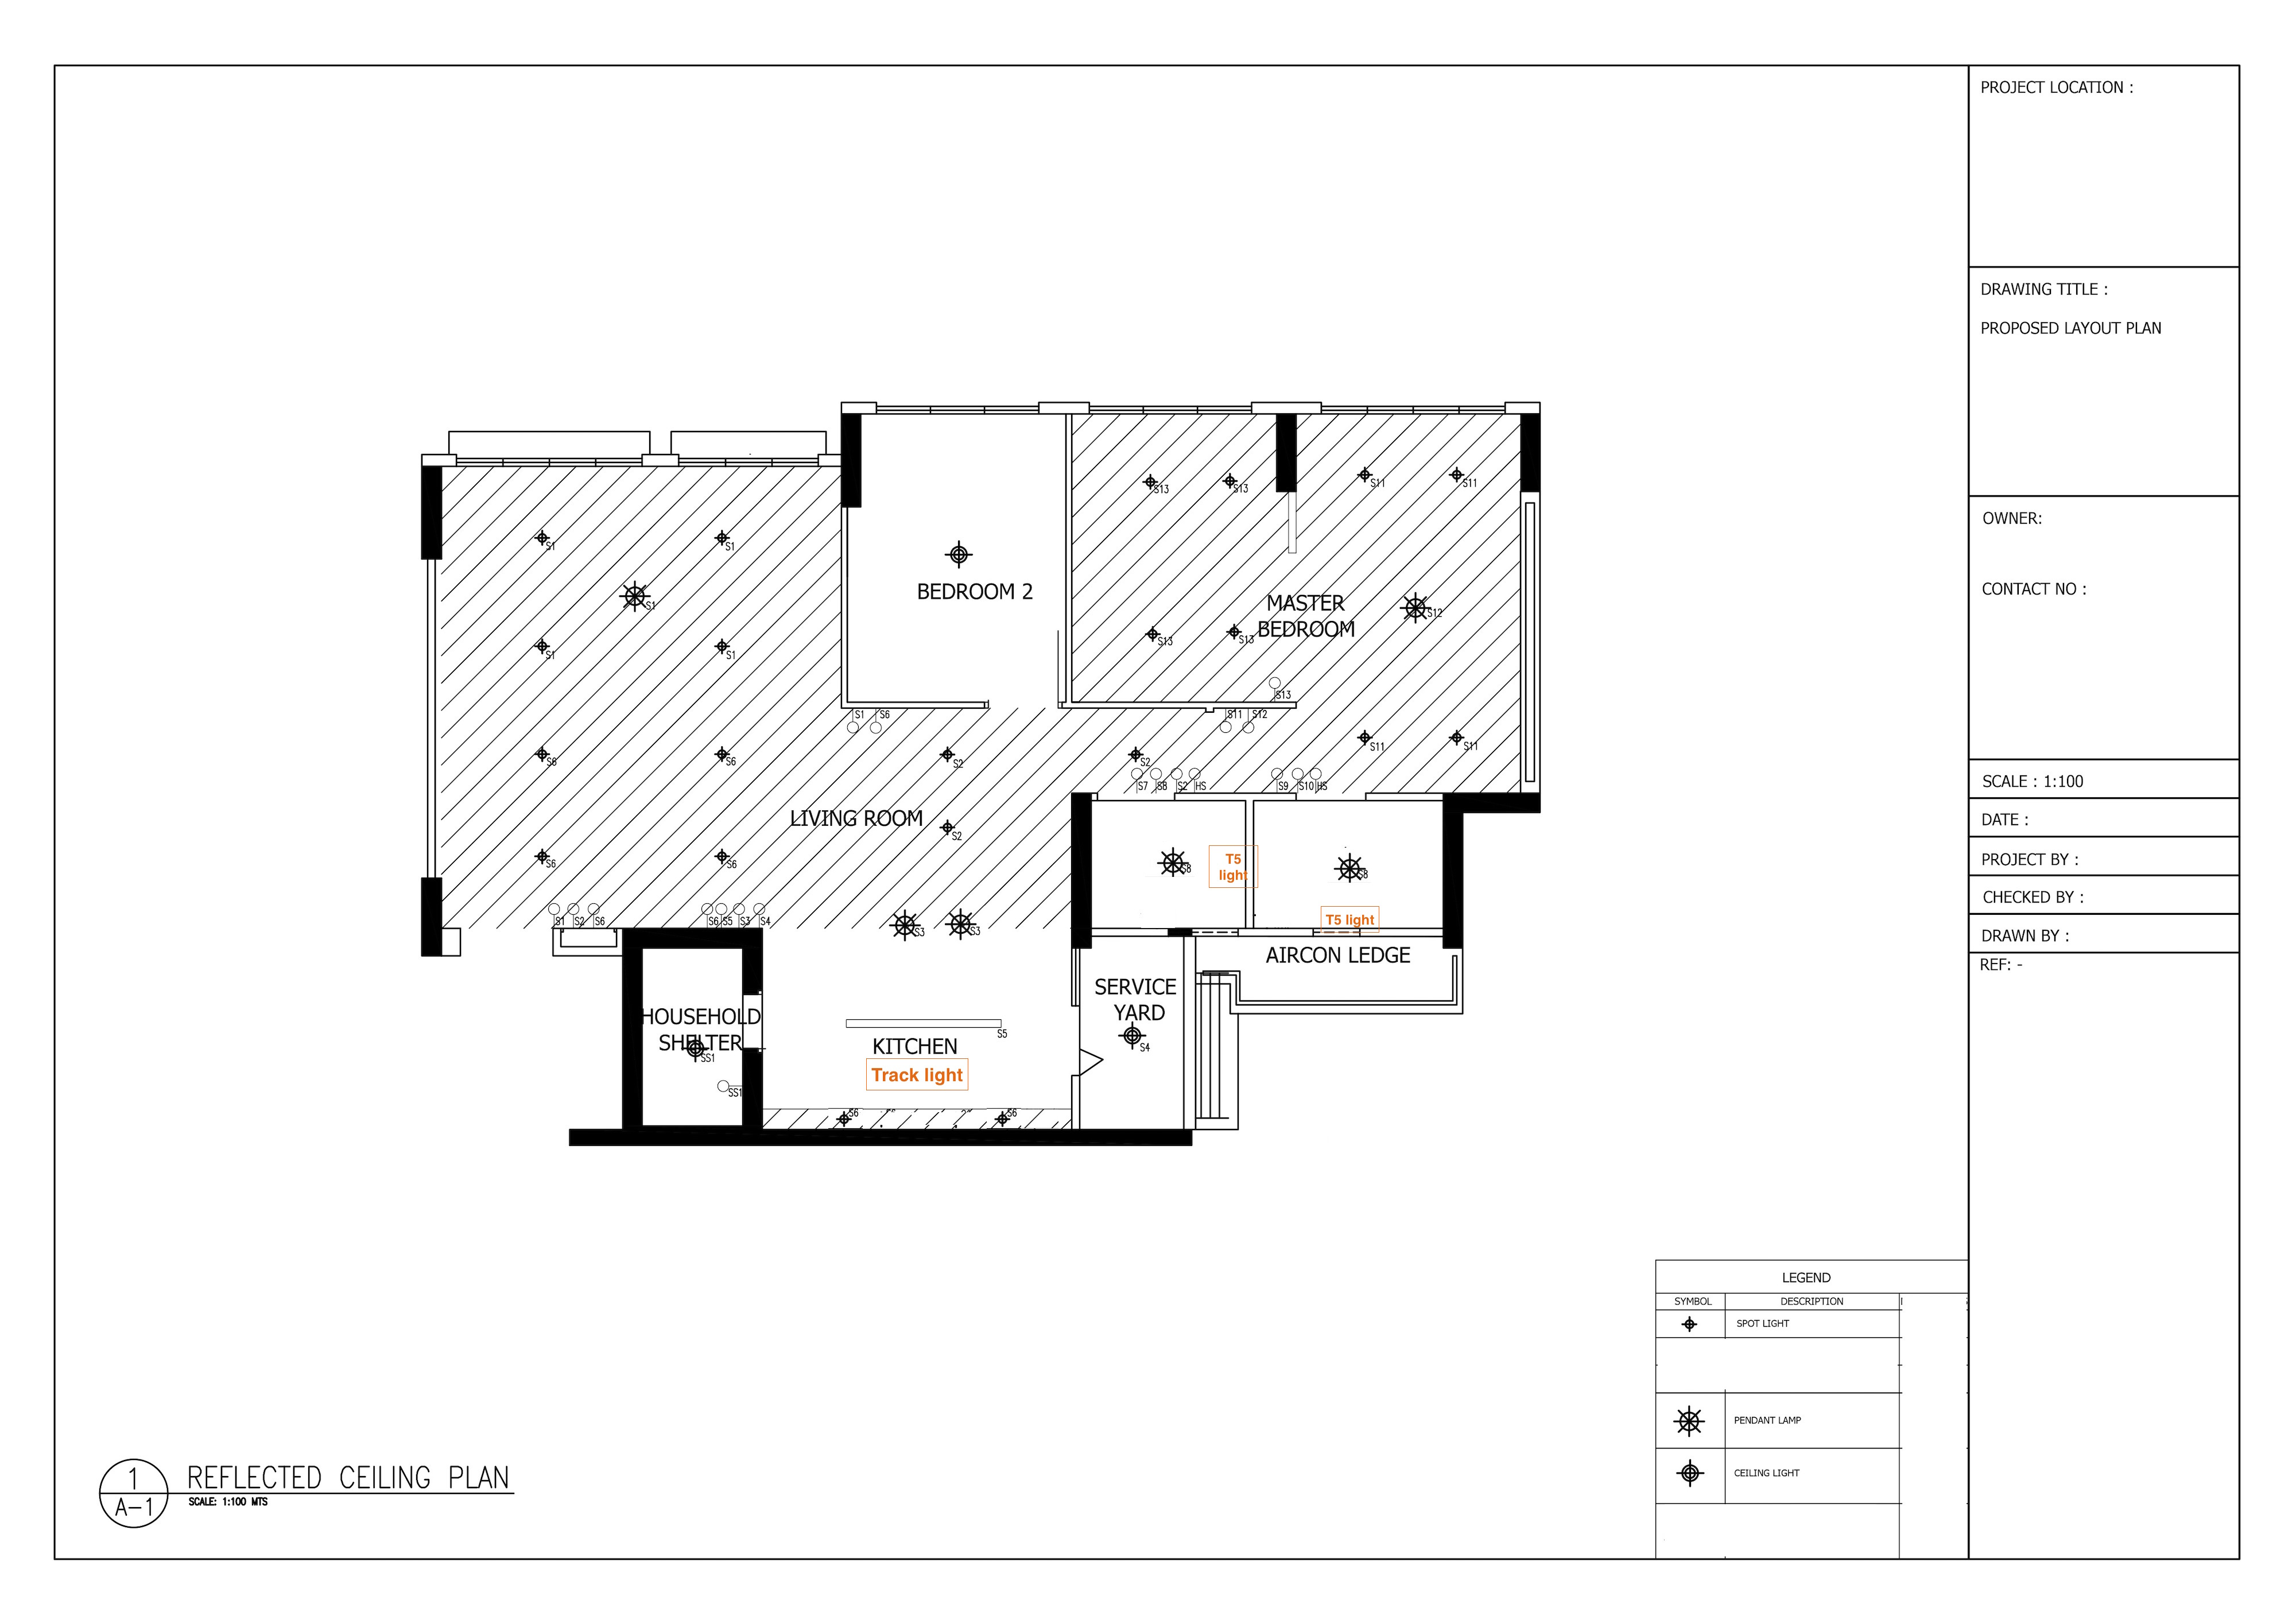 You can click on the picture to enlarge it.
Switches
You should check the lighting plan to ensure that the switches are linked correctly to the lights. From the picture above, you can see that the “S1” switches turn on the “S1” lights, the “S2” switches turn on the “S2” lights, and so on. For example, you do not want a switch in the living room to turn on your light in the toilet! You also want to ensure that the switches turn on lights for the appropriate areas in your house. For example, instead of having one switch to turn on all eight spotlights in your living room, it would be more ideal for two switches to control four spotlights each. For our case, we have two switches for our spotlights, and one more switch for our chandelier. Most reliable electricians will plan the switches properly, but it doesn’t hurt to be extra careful.
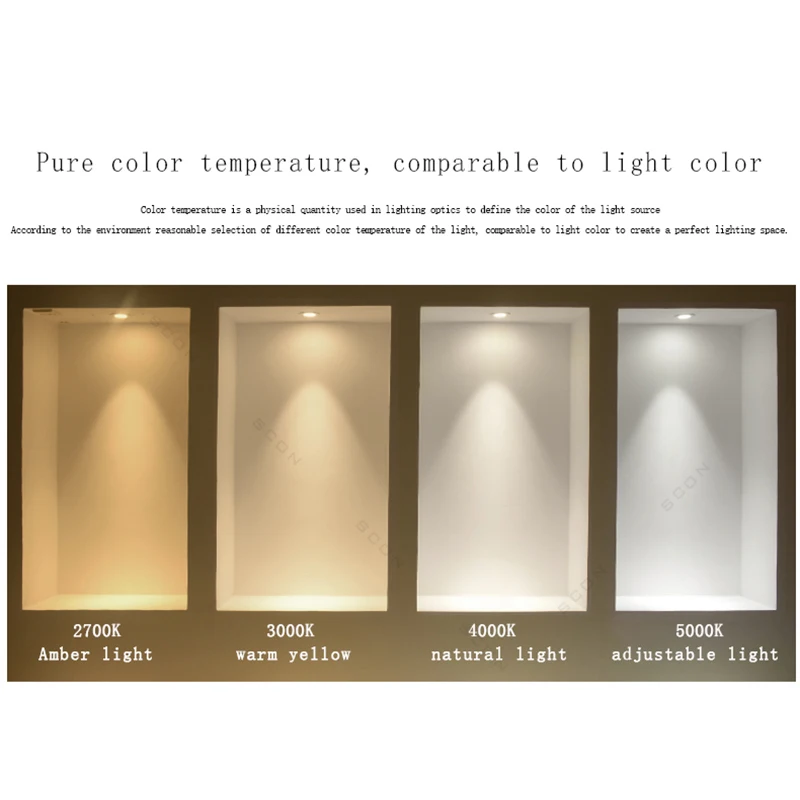
Colour Temperature
Before we go on, it is important that you understand the concept of colour temperature. After doing some research, we found out that lights can be classified according to their color temperatures, measured in kelvins (K). Below is a breakdown of the common color temperatures. You can also refer to this picture of color temperatures to get a better idea.
- 2700K: very warm amber light.
- 3000K: warm orange light
- 4000K: natural white light
- 5000K: cool white light
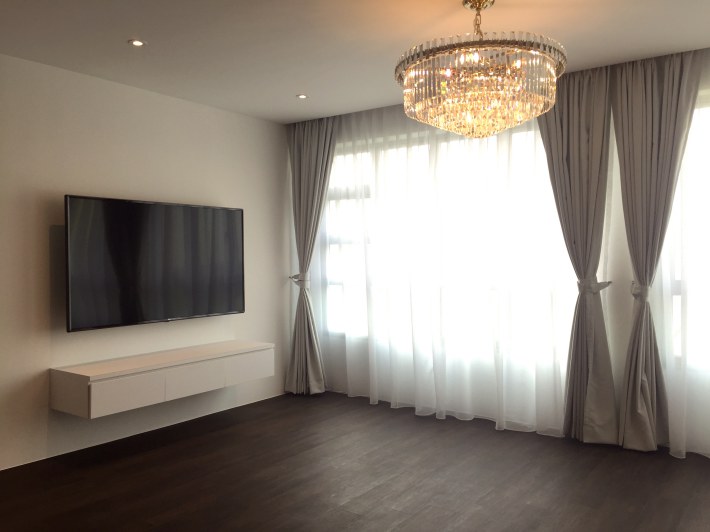
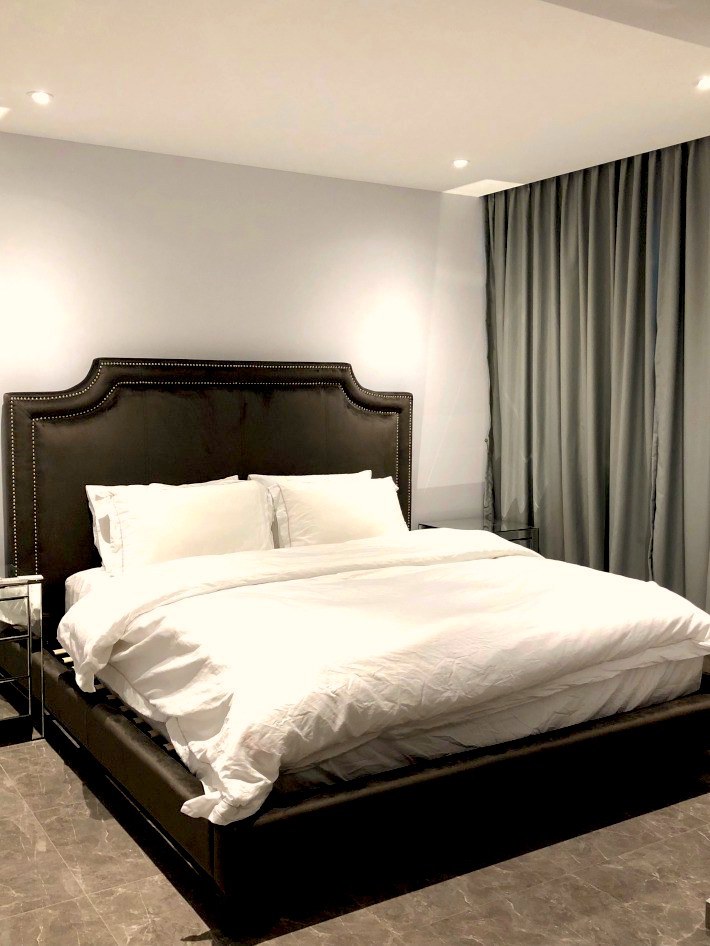
Living Room and Master Bedroom Lights
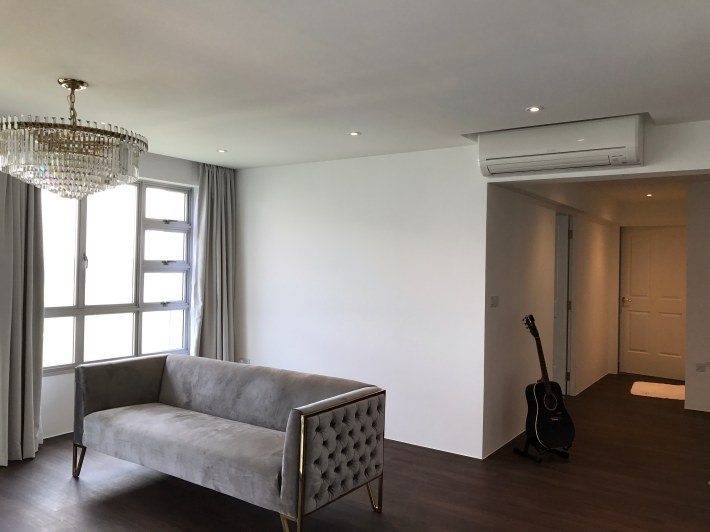
 Living Room spot lights and chandelier
 Another angle
 Living Room Spotlights
 MBR Spotlights
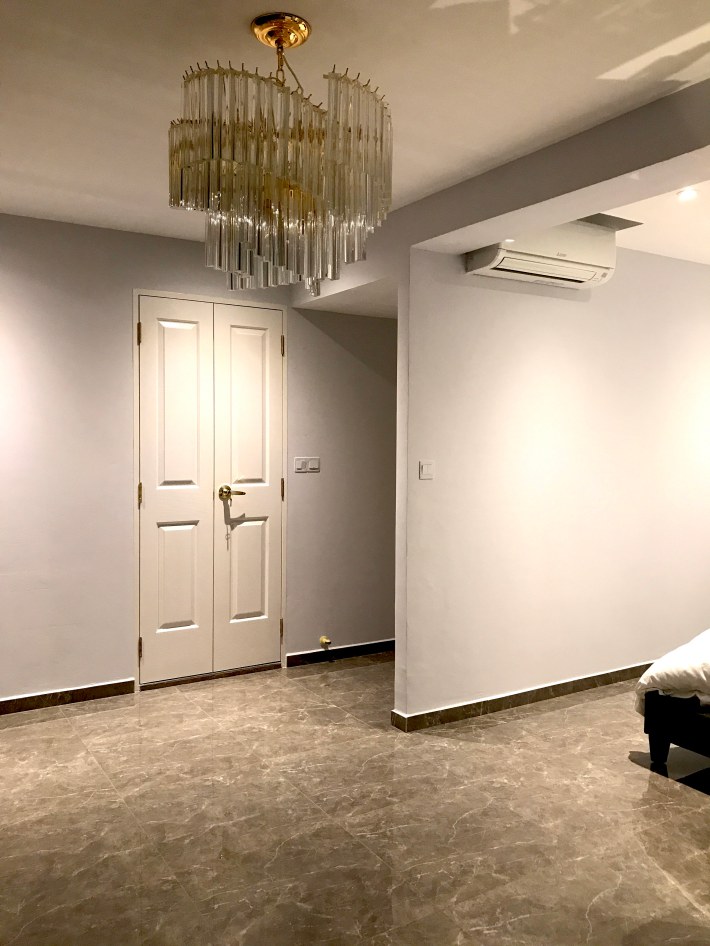 MBR Chandelier
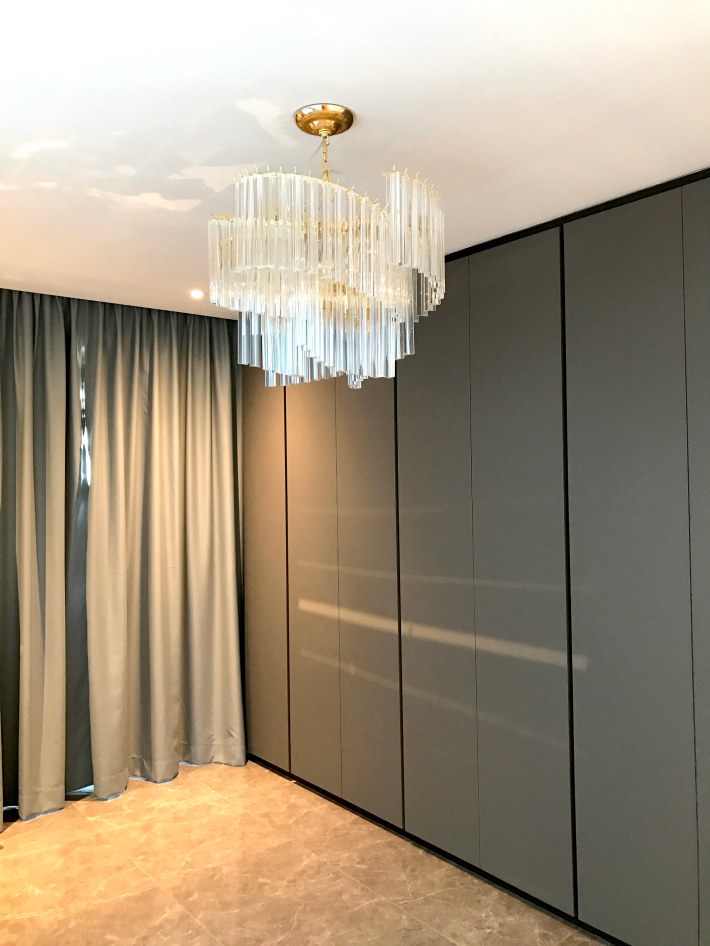 MBR Chandelier
3000K Temperature
For our living room and MBR, we wanted a cozy ambience, so we decided to go with orange lights. However, we didn’t want the lights to be too orange either. Therefore, we pondered whether to use 2700K or 3000K. In the end, we decided to go with 3000K because 2700K was too orange for our liking (based on what we saw in the lighting showrooms). After installing the lights, we felt we had made the right choice because the lights have just the right amount of warmness.
Recessed Spotlights
Spotlights give a narrow beam angle, while downlights give a wide beam angle. Even though we were advised otherwise by the lighting shops, we chose recessed spotlights over downlights for our living room and MBR. This is because we preferred the stylish look of spotlights. We bought the spotlight fittings (single) from a Jalan Besar lighting shop for $20 each.
Additional Lighting Points
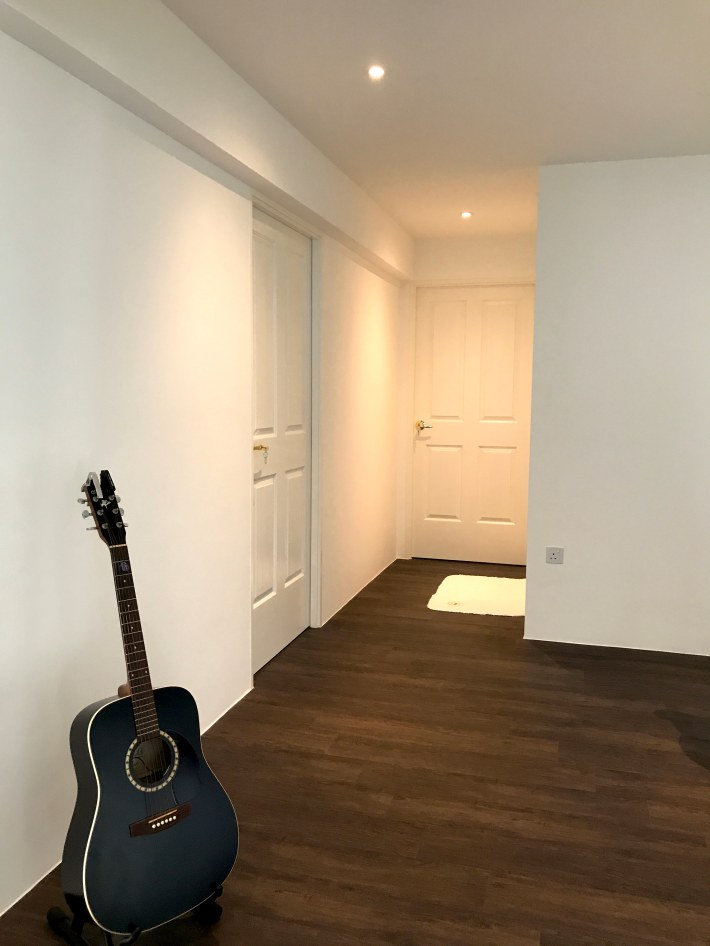
In addition to the default lighting points provided by HDB, we had to add many lighting points for the spotlights in our living room and MBR. We added 7 lighting points in our living room (total of 11 points) and 6 in our MBR (total of 9 points). Note that you need to build a false ceiling to install spotlights.
Chandeliers
We installed a large 3000K chandelier in our living room and a smaller 3000K chandelier in our MBR. It took us half a day to hang up all the crystals!
Kitchen Lights
 Ceiling Track Light
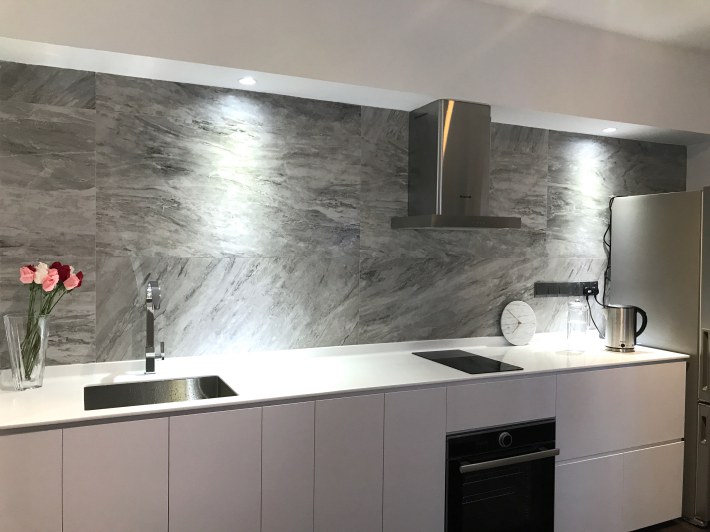 Two spotlights over our kitchen counter
 Spotlight
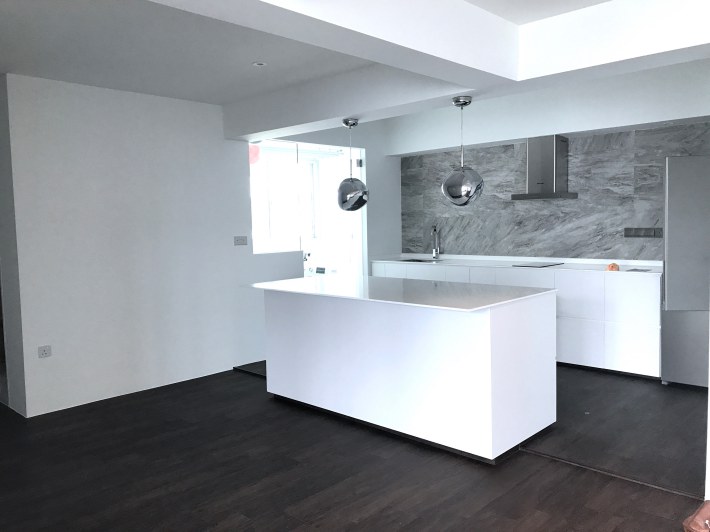 Kitchen Island Pendant Lights
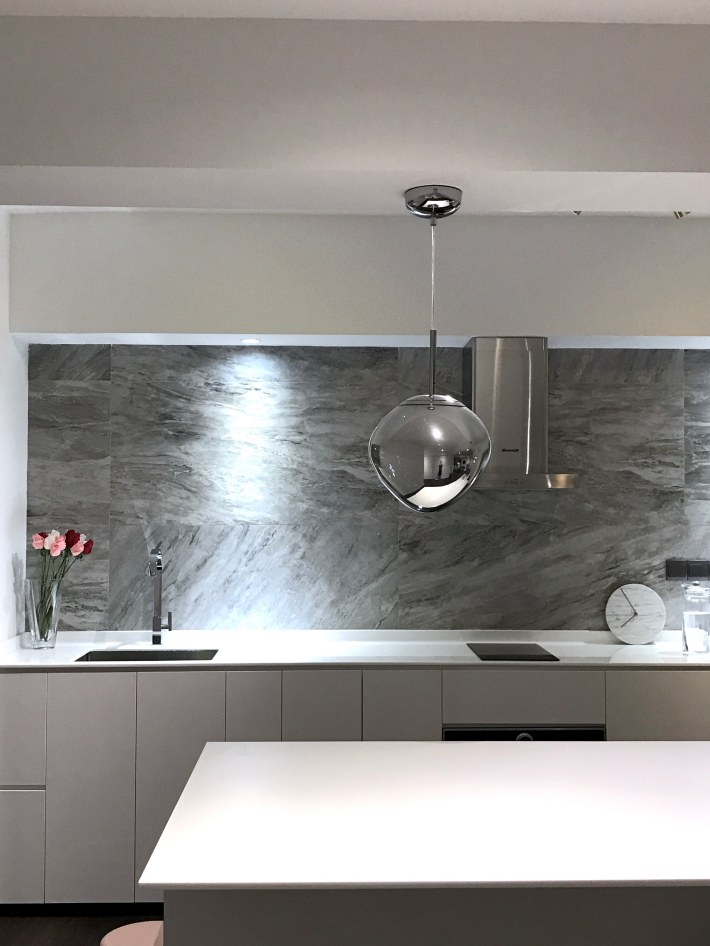 Pendant Light Close Up
For our kitchen, we installed a 3000K track light in the centre of the ceiling to light up the general area. If you prefer a brighter kitchen you can go with 4000K instead. For our hob and sink area, we installed two 4000K spotlights (3 Watts) above on the box-up. This is because we wanted a whiter light for cooking. Our hood has built-in spotlights too. We installed two pretty pendant lights over our kitchen island.
Service Yard and Storeroom
 Service Yard
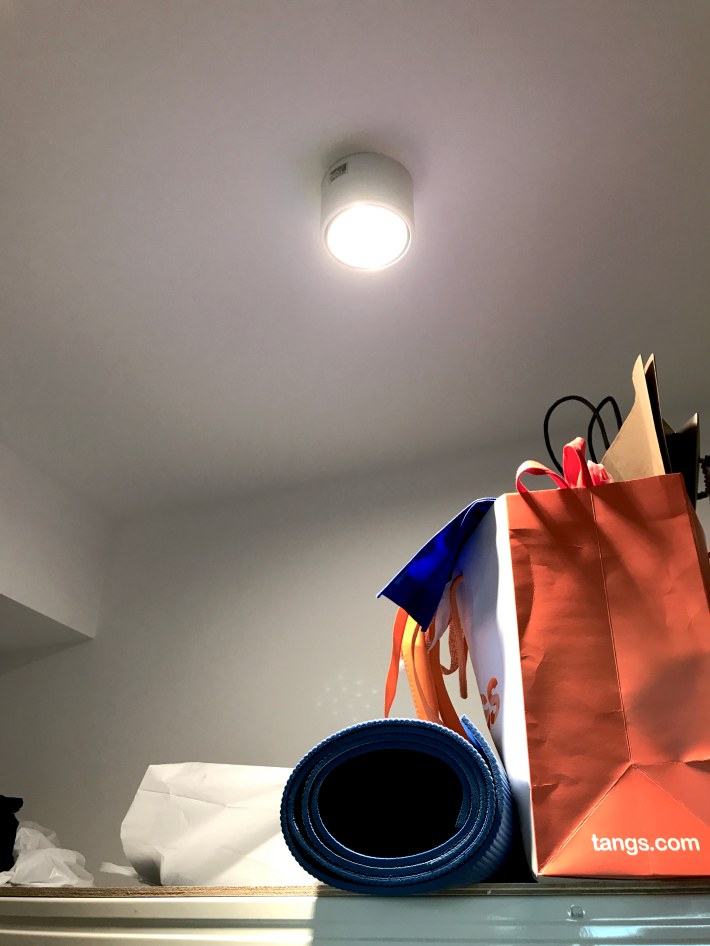 Storeroom
For the service yard, we installed a simple bronze 4000K ceiling light. For the storeroom, we installed a round 4000K ceiling light.
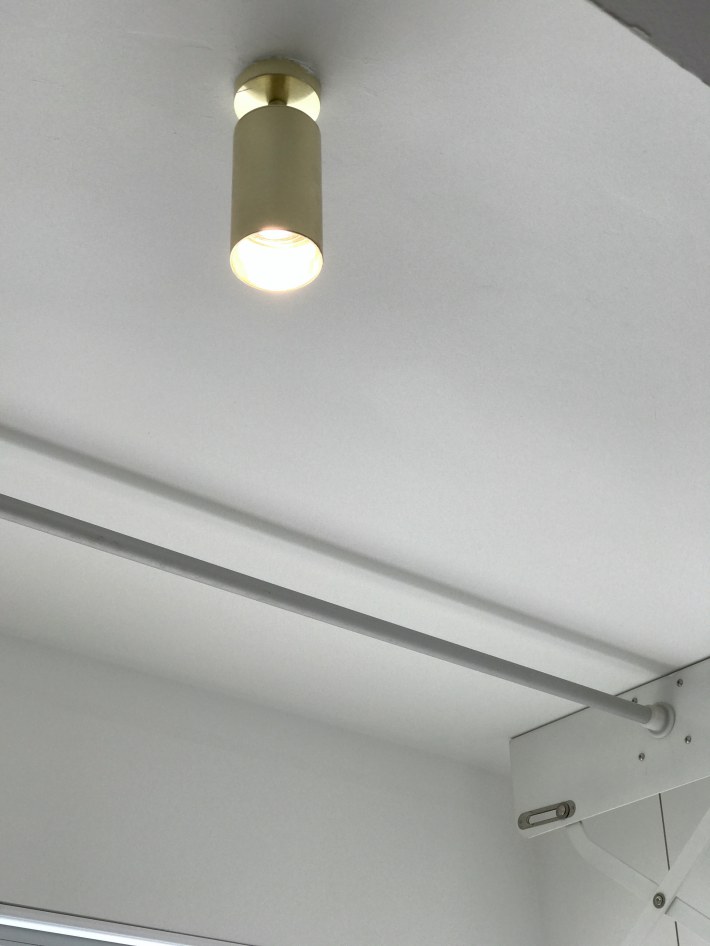
Study Room
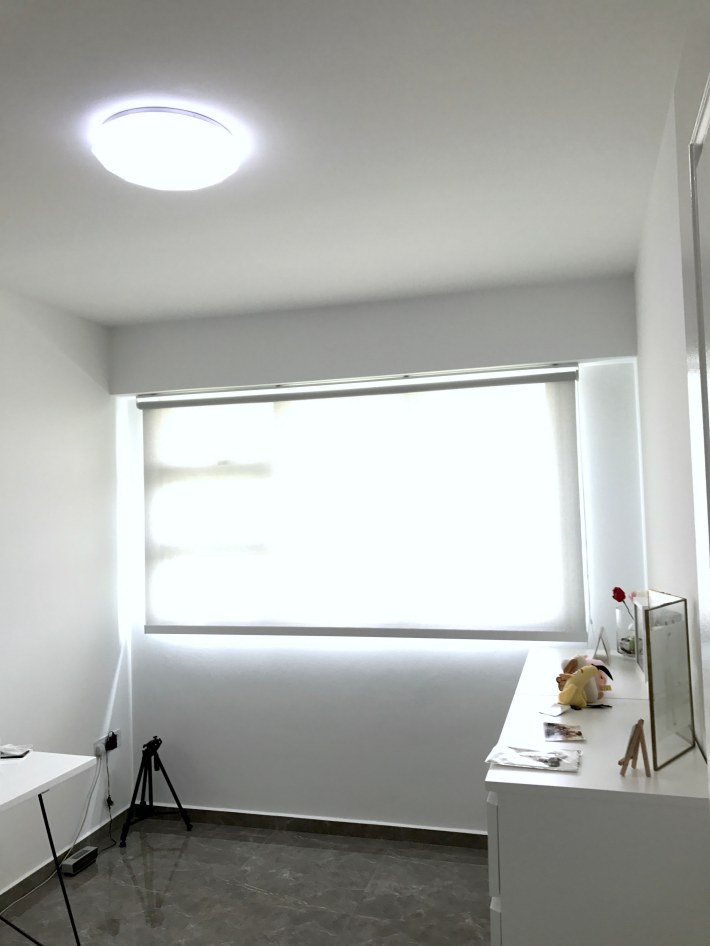
For the study room, we installed a simple 30 Watts 4000K LED ceiling light ($70), bought from a lighting shop in Jalan Besar. It gives a nice natural white light. We did not choose a whiter light (5000K) because we felt it would be too harsh on our eyes.
MBR Toilet and Common Toilet

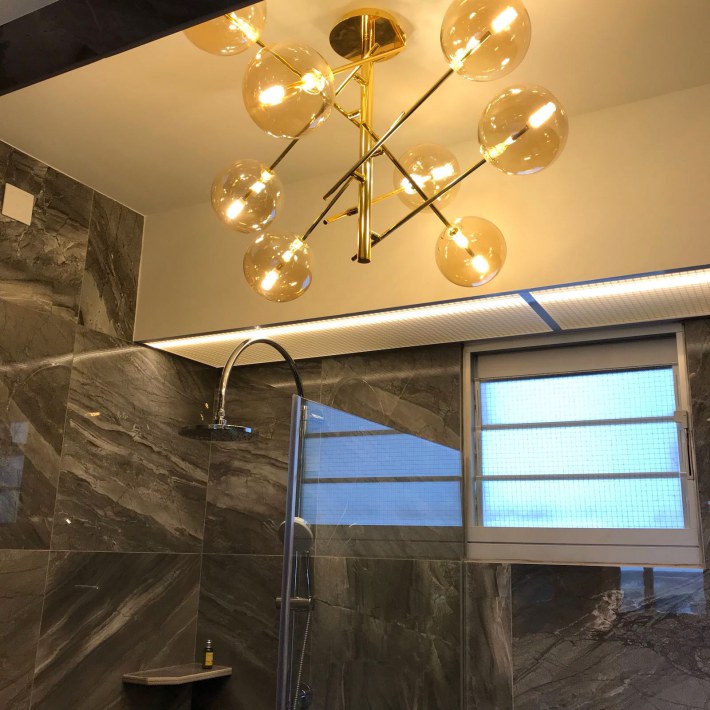 We installed T5 lights in the box-up of both our toilets (it’s the narrow strip of light)

For both our MBR and common toilets, we installed a pendant light (3000K for MBR and 4000K for common toilet). We also installed T5 lights (3000K) which give the toilets a nice ambience. For the common toilet, we used a single three-feet T5 light tube ($18), and for the MBR we connected a four-feet ($20) light tube and three-feet light tube. We had to buy a LED driver for each toilet too. We bought the T5 lights from Zenterra Lighting Pte Ltd at Trade Hub 21, which we recommend for their good service and price.
Electrical Works and Lighting Price List
Below is the installation price list of our electrical works. In total, we spent about $3,000 which we felt was reasonable for our five-room HDB flat.
| Items | Price |
| Install ceiling light | 15 |
| Install spotlight | 15 |
| Install T5 light | 15 |
| Install track light | 25 |
| Install pendant light | 30 |
| Install chandelier | 80 |
| Add lighting point | 50 |
| Relocate lighting point | 50 |
| Add single socket point | 90 |
| Add double socket point | 100 |
| Add SCV Point | 100 |
| Add Telephone point | 100 |
| Add Hood point | 150 |
| Add Hob point | 150 |
| Add Oven point | 150 |
Avoid Being Overcharged for Light Bulbs!
We bought our recessed spotlights from a lighting shop along Jalan Besar. The spotlights fittings (single) were reasonably priced at $20 each, and service was decent. However, we did not buy the Philips LED light bulbs (GU10) from the shop because it was way overpriced at $20. The same light bulb can be purchased at any typical hardware or electronics shop for just $10 (or less). Considering that we need 19 GU10 lightbulbs for our house, this would be a very significant markup!
Conclusion
It was quite a stressful experience working out the details of our electrical works and lighting plan. Luckily, with careful planning and the help of our ID and electrician, everything turned out all right in the end. We also clarified with our ID that the electrician had the required licence, as stipulated on the EMA website. Let us know if you have any questions in the comments section below!
This article is part of our completely free and super informative Singapore Home Renovation Guide. Why spend weeks researching when all your renovation information is simply a click away?
18 Comments and Questions
Wah, you guys really did a very good job leh, shiok shiok haha. Thank you very much. I’m moving in with my girlfriend next month so this is very useful. I like how you discussed the points very thoughtfully. When I renovated my current house with my wife, it was such a hassle. So this post is a godsend! Thank you!
Hey Wing Kiat thank you for your kind words bro! Happy you found the article useful.
Thanks for the post Evan. So helpful as I am also renovating my place at the moment!
May I know where you bought the pendant light for your kitchen island? Would you recommend the shop? Thanks!
Hi Vivian! We bought the kitchen pendant lights from Taobao. So far it has been working well for the past year.
Hi Evan thank you so much for sharing your renovation information. Possible to share where you got those chandeliers too? Thank u! =)
Hi Ev,
You’re very welcome! =)
We got them from Taobao. You can check them out below:
– Living room Chandelier
– MBR Chandelier
Hi, thanks for sharing. I would like to know if electrical works like adding lighting points and wiring can be done by the lighting shops, or do I need to engage an electrician separately? I am not engaging an ID or contractor. Thanks.
Hello Tina, you’re welcome! You would need to engage an electrician separately. Make sure you check that the electrician has the proper licence, as stipulated on the EMA website.
Hi Evan,
Wondering if you still have the link for the service yard light?
Also what light specs did you use for your masterbed room spotlights?
Thanks.
Hi Matthew,
The link is actually in the article. You can click here too.
We bought 3000K recessed spotlights at $20 each (not inclusive of the bulb) at a lighting shop in Jalan Besar.
Hi Evan,
I am renovating my 5 room HDB soon and hoping to DIY. Your post on lighting and electrical works has been SO helpful! I am wondering if you could recommend your electrician for my renovation? Was he good and reliable? If so, could you share the contact?
Hello Michelle,
Happy you found the article useful! Unfortunately our electrician was hired by our ID, so we do not have his contact.
Very detailed article! Thanks for spending the time to document and share with us your thought process and the types of lighting. It certainly helped a lot. May I know did you do anything to your switches? Did you change colours and how did you source for them too?
Hello Ann, you’re welcome! Glad you found the article useful. Yes, for our kitchen, we requested our ID to change the default HDB white switches to grey switches. This is because our kitchen wall is grey too. I believe they can also be easily purchased at hardware shops or on Carousell.
Hi,
You guys have done a great job with the lighting. Just wondering where did you get the tv cabinet from? I’m looking for something similar where I can fix onto the wall.
Thanks, Reiss
Hi Reiss!
Thanks! We tried our best..
The TV cabinet was actually customised according to our requirements and built by our carpenter. I do not think it is possible to get this type of cabinet off the shelf.
Cheers, Evan
Hi Evan,
May I know how you drew up the electrical plan? I would like to do something similar for my new house so my electrician understands where the outlets go.
Thanks in advance!
Hi Mohamad!
The electrical and lighting plans were actually drawn up by our ID.